Showing posts with label coaster. Show all posts

Sunday, May 23, 2021

Manx quilting block

Some years ago I spent almost 6 months for learning different patchwork and quilting techniques, different blocks and patterns. I have not tried all of them but those ones I was interested in I have tried.

Yesterday a quilt friend shared a very old technique and I realized I have not seen it before.

This is a Manx quilting block.

It is very easy, hand sewn  method that don,t need perfect measures.

I was challenged to make it by machine.


I decided to finish as a coaster because no idea what to do with a whole quilt the same technique. For now:)


Here is a short tutorial how to make the binding.

Do not place the last "logs". Instead of this use the backing for binding.

Double fold the sides by iron.

 
Double fold the corner.


Repeat with  all corners. Begin stitching from the middle of the side.
 

When reach the corner pivot with needle down.

Then turn back as close to the fold as you can.


At the next corner I made a back stitch in the inner corner. Hope it will lay more neatly.

The back 


Tuesday, January 27, 2015

Star coaster tutorial

I have seen this star in an amazing book - Carefree quilts by Joy Lilly.
There were described place mats, but the idea is the same.

All you need  for two coasters is:
  • two rectangles contrasting colors about 8 x 9 inches for the front,
  • two rectangles of batting about 8 x 9 inches 
  • two rectangles contrasting colors about 9 x 10 inches for the back. 
 Let's get started.

 
Step 1. Place the rectangles right sides up, align them and make two parallel cuts.


Change the middle strip and stitch two neighbouring pieces right sides together.


Step 2. Repeat step 1 with the new rectangles.
Pile the them right sides up again, align and make two parallel cuts.


Change the middle strip and stitch together.


Step 3. Repeat step 1 with the new rectangles.
Pile the them right sides up again, align and make two parallel cuts.
Keep in mind to align not the outer side , but points where seams crossing.


Note where the cutting line runs - you should have 3 similar triangles.


Step 4. Trim the tops to desired size.

 
Step 5. Cut batting and backing.
The back fabric must be 2 inches wider and longer than the top and batting.


Place as shown and quilt as you like.


Fold twice by iron and stitch.


Monday, April 14, 2014

More chicken coasters

When you are wandering about fast and funny Easter gifts you should make some of these coasters.
See tutorial here.
I intended to visit a friend of mine and suddenly I understood there will be other three friends.
I have one day to make small and unique gifts.
I need 2 and a half hours to create these colorful coasters.


I have experiment with different styles for eyes. You could make them different color, too.

You should made the coasters double sided or simply put an interesting printed fabric on the back.


Enjoy sewing!

Thursday, March 27, 2014

Chicken coaster or mug rug

All began from my morning walk through Pinterest. Look at this lovely mug rug.
I always love wonky and  not so even strips, but this is gourgeous.
Easter is round the corner.And mine turned out in this one.


I will show some useful hints.
Let's begin playing.

 Step 1. Preparing body.

Cut some strips or simply collect scraps and 1" black square.


Start sewing Log cabin block with a black center. Don't worry about uneven stripes.


When you  made two rounds continue adding strips at two neighbouring sides. The black square will become an eye.


The block has no square shape. It is about 7" x 8".
If want trim it to a square.


Step 2. Preparing bill and tail.


They are made as usual prairie point.
Get a 4" square of fabric.
I have made mine from 4" strip, but it is the same in fact.
Fold it in half wrong sides together and press. See the process bellow.


I have made the bill from smaller square - 3".

Step 3. Assembling the coaster and finishing. 

Cut the batting and backing according the top.


Place prepared bill and tail on the backing, pin and stitch.


Lay the backing wrong side down, finished top right side down
and batting.
Stitch leaving 2 inch opening for turning over.
Backstitch at the beginning and finishing.


Clip the corners and turn over.


Iron well, stitch the opening and quilt (embellish) as desire.


Oh, prepare a cup of coffee.
Enjoy.


Feel free to cut and collect strips as you like.
If prefer to have a foundation paper - get the pattern from CRAFTSY or ETSY.


Attention 

TWO days left till closing Giveaway for Easter Chicken.
Get a chance to win a FREE pattern.


Friday, February 14, 2014

Second mug rug from the swap

I promised to post here some details about second mug rug when my partner received them.
Today is the day. I am so happy. My Italian partner, too.
This is the content of the envelope.


I have made a greetings card with a piece of the band and stitched heart by machine.
Making cards is my another passion.
When sew a quilt I always make a card with leftovers, write the care instructions inside and give it to the future owner.

For the second mug rug I decided to use the same fabrics for front and back. Anyway they are parts of the same swap.
The difference is the way they are look.
Because the white fabric is a little bit transparent I have put a blue felt under it.
Look how it has changed.


The leaves are from felt in in colors to match the five-ringed symbol of the Olympic Games.
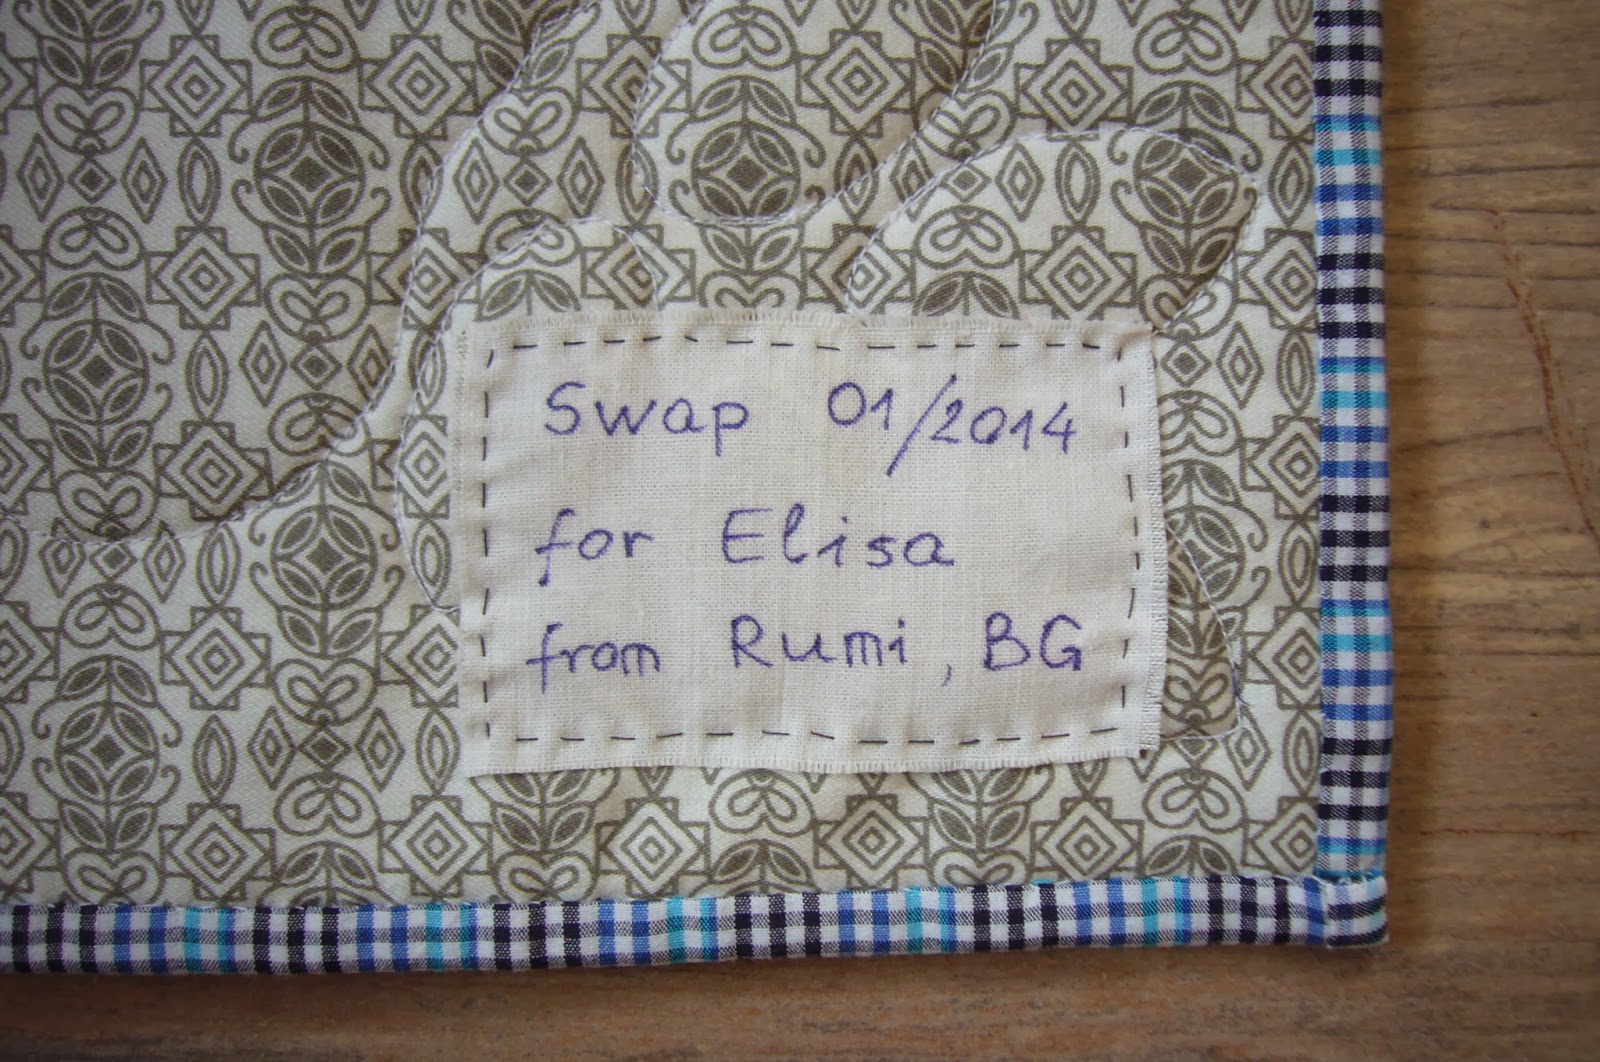
 The back is with label written by hand with permanent marker.


Saturday, February 1, 2014

Mug Rug Swap - Celebrate the Olympics

When I decided to participate in this mug rug swap organized by Mishka from QuiltingGallery I haven't realized how much fun I have. The patterns are designed by Amanda from The Patchsmith.
Receiving a mail with partner I wrote immediately an e-mail to understand if she has some special requirements.
My partner is Elisa from Italy. She has a blog  Dilanaedilino.
Looking at the tings she had create I have chosen the fabrics for the mug rugs.
I like the idea of Russian Doll - Matryoshka very much.
I know Russian very well  and Rushian culture is close to me. I have many vintage fabrics from Russia, too.
That's why I began with this mug rug.
Russian national costumes has a plenty of embroidered bands, so I embellished the mug rug with a woven band instead of second line of squares.


Do you see what is the hair of the Matryoshka?
This is my another tribute to the mug rug pattern.

When I was a little child my father went to Rushia for one month to work.
I want to have a big doll that could cry, saying "Mum" when someone pushes her stomach and has a long blond hair that could be combed.

So here are some little tricks how I have made the hair.
All you need is about 6 inches yellow DMC threads, some light brown and ochre threads and colorless nail polish.
Cut  all threads with length of about 1.5 inches.


After you have finished with applique of the doll place the thread on the front head and stitch 3-4 stitches forward and backstitch.


Pull out the threads from the back side and tie for secure.


 At the end - Very IMPORTANT!
"Paint" the seam with the nail polish brush to fix all the threads firmly. Some of them are so tiny and could be torn when wash the mug rug.
Cut the longest threads and make a hairstyle you desire.


Was it funny?
Oh, forget to share the label on the back.


Although I have designed and made many mug rugs for my SHOP I tried a new way for binding, described by Amanda on her site. Thanks!

Tomorrow I will show the next mug rug.