Showing posts with label cushion. Show all posts

Tuesday, January 29, 2019

A cushion from recycled shirt

This idea is not new, I have made such cushion years ago.
Now I developed the idea much more - I used the pocket of the shirt.
From the front sides of the shirt cut 15 inches square.


As in the old tutorial you can use the back of the shirt.
This time I used another fabric.


Different ways of use :)

Monday, October 29, 2018

Teaching improvisational piecing

I was teaching some quilters improvisational piecing I have described some weeks ago.
Do you remember the idea? Collecting big pieces which you have by hand, cut them and resew.


There are different results - all of them amazing and interesting.


Now some blocks are finished items.


All were satisfied and motivated.
Thanks for participating and new ideas.

Monday, January 8, 2018

Four cushions

The last project from last year continued on the first of January was four cushions.
A friend of mine asked me to decorate hall where the main color is vanilla. The couch, the curtains, the carpet, even the walls. It looks nice, but without any accent.
I made the cushion corresponding to the doors of the cupboard and used rests from the curtains.


"The Steps of the court" have the same look even the stripes makes an angular feeling.


Tuesday, June 2, 2015

Quiet hand sewing

I was very busy last 2 weeks, but now almost finished this project.
I will show the whole quilt later, now - the back only.
What a helpful Clover clips


If you want to add a fresh look in your decor a new cushion is always a good idea.


Thursday, October 30, 2014

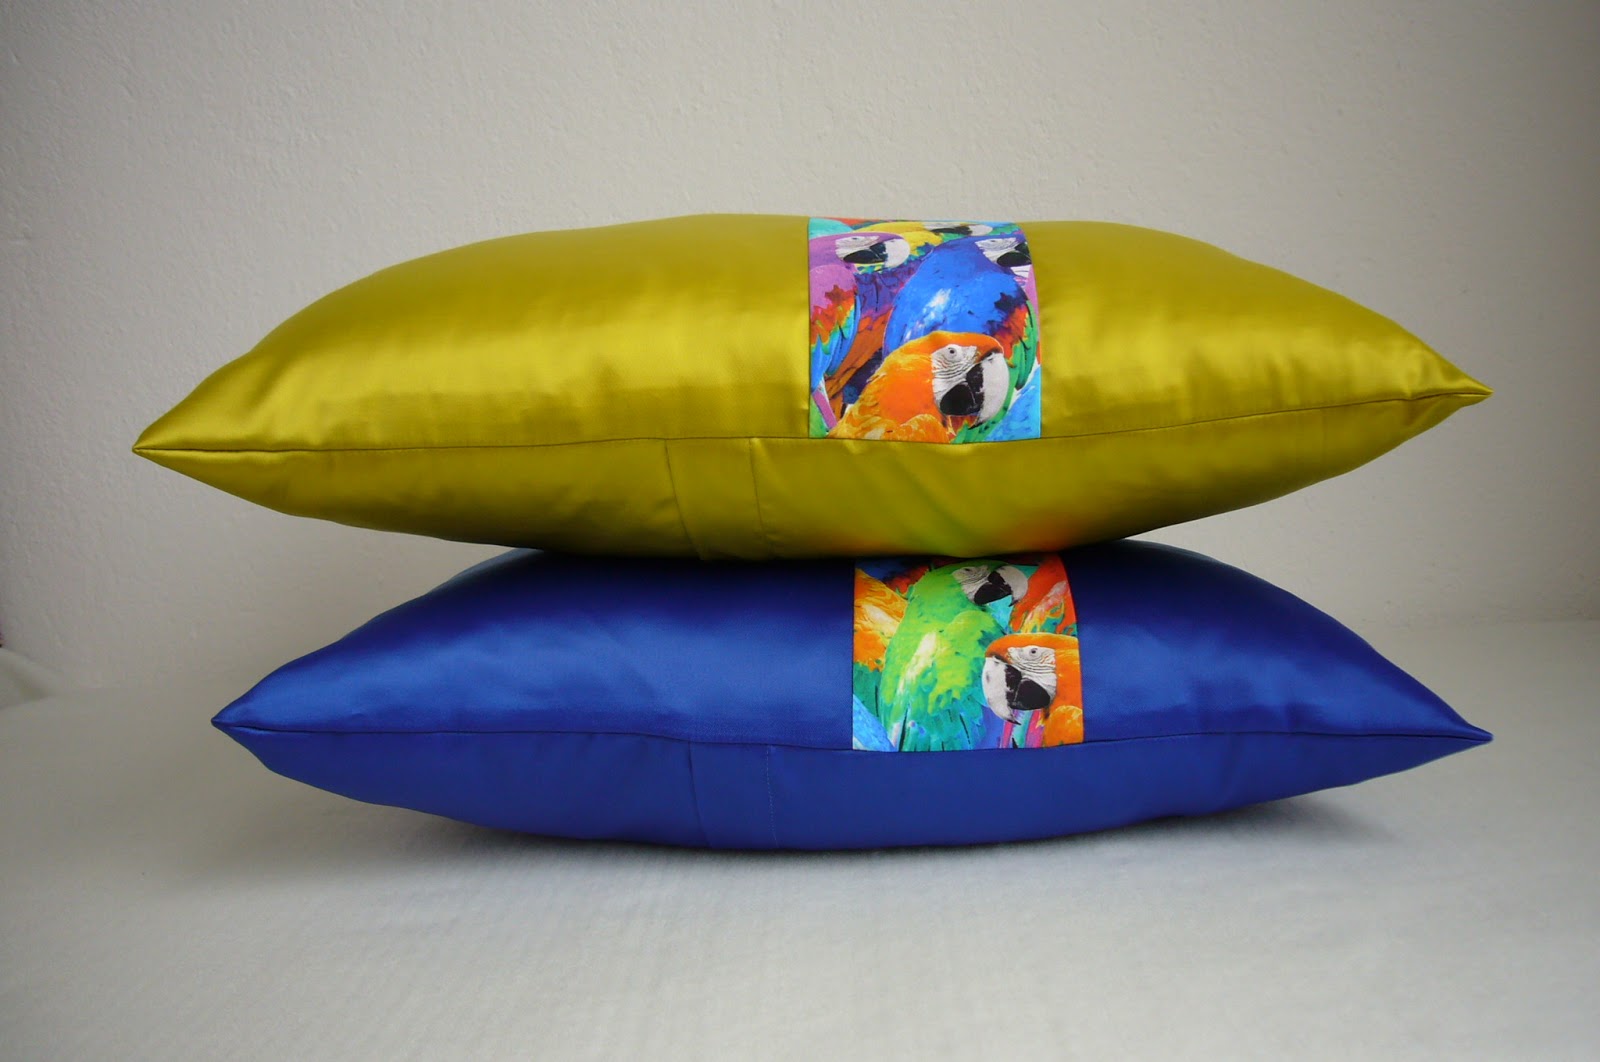
A Bavarian style cushion - made by order

So what should you make if you have such complicated order.
I was asked to sew a cushion cover Bavarian style, traditional German look for a 60 years jubilee.
I had idea to make something like houses with beams. Do you remember the houses in Germany?


Then wanted to make a cushion like a house,...
Then have seen a linen shirt with embroidery and gorgeous buttons on the front.
A brilliant idea crossed my mind.
Cut rectangle, different strips, attached on a piece of batting. Voila...


 What about the back? Do you wander how I have used the buttons?


So did I the cushion.

Friday, June 27, 2014

Scrap cushion cover - tutorial

I have received enormous quantity of precut pieces 2 x 4 inches and began thinking of proper usage.
Here are few of them.


I began sewing them in strips, then gather by rows till have one yard square. Being not satisfied look at my favorite magazines for inspiration.
I really like Patchwork Professional and have a look from time to time for some ideas.
This time I like too much the technique, present by Margit Amann von Glembotzki.
I wanted to test it making a smal project and decided to sew a cushion cover. It is only 16 inches square, so the fun began.

The brilliant idea is to use striped fabric as a foundation - drawing lines on a solid sounds not a good idea that day.

Making the front

Cut a 17 inches square, sort the pieces (2 x 4 inches) and start sewing.
My pieces are zig zag edges, but it is not a must.
Use your rotary cuter with straight blade if you haven't wavy or pinking ones.


The technique is similar to ruffle quilt, but not absolutely the same.
Each row consists of 4 strips from two alternate colors pattern. Place them on the line and sew.


Next row is in chess-board order with two others fabrics. Cut in half one piece and place at the raw's beginning.


So you can see the columns which the pieces form.
It is a kind of illusion.


Making the back
Cut 2 rectangles 13 x 16.5 inches for the back. Make a half inch hem on the longer side of any of them.


Overlap to have a square 16.5 inches and pin.
Place them as shown right side up.

.
Place on them the prepared front piece wrong side up and stitch round perimeter.
Turn over the pillow case.
DO NOT IRON!
Wash and ruffle by hand when wet and let dry.
Enjoy!

P.S. Now finished pillow case is at my cousin shop for sale.

Saturday, December 28, 2013

The New York Cat pillow

My best friend is allergic to cats.
She has problem even staying in a room where were cats before.
I made  this pillow for her.
No problems anymore.


I have seen a combination between NYB quilt block and a cat somewhere at the web.
Like wonky shapes much more than perfect ones, so the idea was turned into pattern - New York Cat.

I designed it and test the pattern sew this cushion cover.
You can get the pattern from CRAFTSY or ETSY.

Here are some hints during the sewing.

In fact the most sections are paper pieced.
When stitch together two curved sections keep in mind my advise:
Do not add seam allowances to the paper, only for the fabric.
It is much easier to stitch together sections.


 The same in front.
Pin two sections and stitch carefully.


Iron well. Don't worry if they are a little bit uneven. You will trim exceed down later.


Repeat the same with the next two sections.


Add the body and head.
Embroider the eyes and mouth.

Use the block for cushions, quilts, placemats and what you decide.

Sunday, September 1, 2013

The Liberty Pillow Challenge

What does it means Liberty?
A possibility to say what you think, an opportunity to travel where you want, a desire to make what you like.
As a citizen of former East European country I know the situation very well.
When I have seen the Liberty Pillow case challenge on SewMamaSew I thought - this would be great for me to participate.
I have written to Kristin and crossed my fingers. I needed to be chosen.
She answered me and I was so HAPPY.
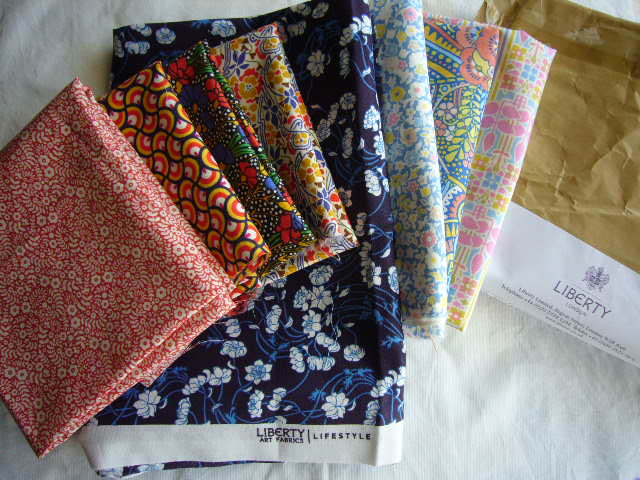
I have visited the site with Liberty Art Fabrics to get some inspiration and to be ready with idea when the fabrics come.
First my idea is to make a chain as an antipode of Freedom. So was born a new pattern. You can download it for FREE. If you are a CRAFTSY member get from HERE.
But when I got the fabrics I realized it won't works for me.


I have  to design something different.
For me the Liberty is having various ways and possibility.
And the cushion says - Go which way you want.

liberty 


Finished pillow size: 16 inches square

You will need:

          four fat eights prints (three for the top and one for the binding)
          some strips from three solids
          6 inches white square

          a fat quarter for the back

additional materials:
         17 inches square  for the background of the pillow front 
         17 inches square batting
         16 inches square pillow form
          threads

A. Making the front panel.

1. Cut  4,5 inches square and  an 1 inch strip  5-6 inch long.


 2. Make a cut no matter which direction.


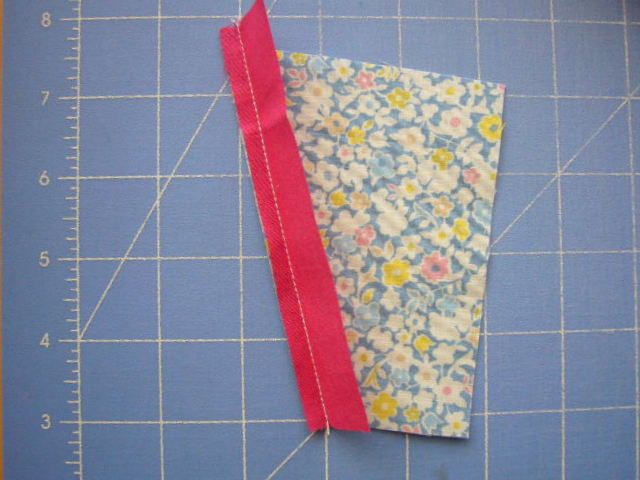
3. Stitch right sides together one of the pieces and the strip.


4. Iron well towards the piece and trim aligning to one side.


5. Stitch the second piece beginning from the trimmed side, iron towards the piece and trim.


6. Make 15 squares this way - 5 from each print fabric.

Tip - Make the cuts different directions.

7. Cut  6 inches square from white fabric and  three 1 inch strips  7-8 inch long from the three different solids.

8. Make a cut the way you want and insert first strip.


9. Make another cut and insert second strip.


10. Keep in mind that the cut is not perpendicular. Use a pin to fit perfect and check before sew them together.


11. Make another cut and insert third strip.


 12. Trim to 4,5 inches square.


13. Order on a table (design wall) all the squares. Sew them together by rows then by column.


14. Add batting and background and stitch in a ditch using coordinating thread

B. Making the envelope closure.

1. Cut two rechtangles 16,5 x 11 inches and stitch a 0.25" double folded hem on one long edge of each of them.


2. Overlap them and stitch for secure.
Tip - measure before sew them .You will have 16,5 inches square.


C. Finish the pillow case.
1. Place the finished front pannel and finished back WRONG sides together and stitch round perimeter a quarter inch.
This step will help you when attach binding.

2. Cut 1 3/4 inchces strips for binding and stitch together.
Stitch the binding to the front of the  cushion. Fold over, turn under and hand stitch to the cushion back.

Put a 16 Inches insert and you are finished.
Enjoy the freedom!