Showing posts with label Christmas. Show all posts

Saturday, October 9, 2021

The longest summer has ended

 I know it has been a long period without sharing any news.

At the beginning of this year I promised to me to write at least a post per month.

But the summer came and I have had no time for keeping the promises.

I have finished many projects some of them non quilting or sewing, but I am happy and satisfied with the results.

Anyway I am here and hope we will enjoy together again.

A 3D Christmas star has captured my thoughts many months because love too much geometry and EPP.


I have stolen some time to design it and write a pattern.


Made a star for a gift or for decoration. 

It is really funny.


Wednesday, December 9, 2020

A new look of EPP Moravian Star

 A friend of mine has shown me a beautiful star. This was first time I have heard about the Moravian star.

 It was EPP and seemed not so hard to make. I have GOOGLEd different images and realized that among big variety there is not a star with one colored points.


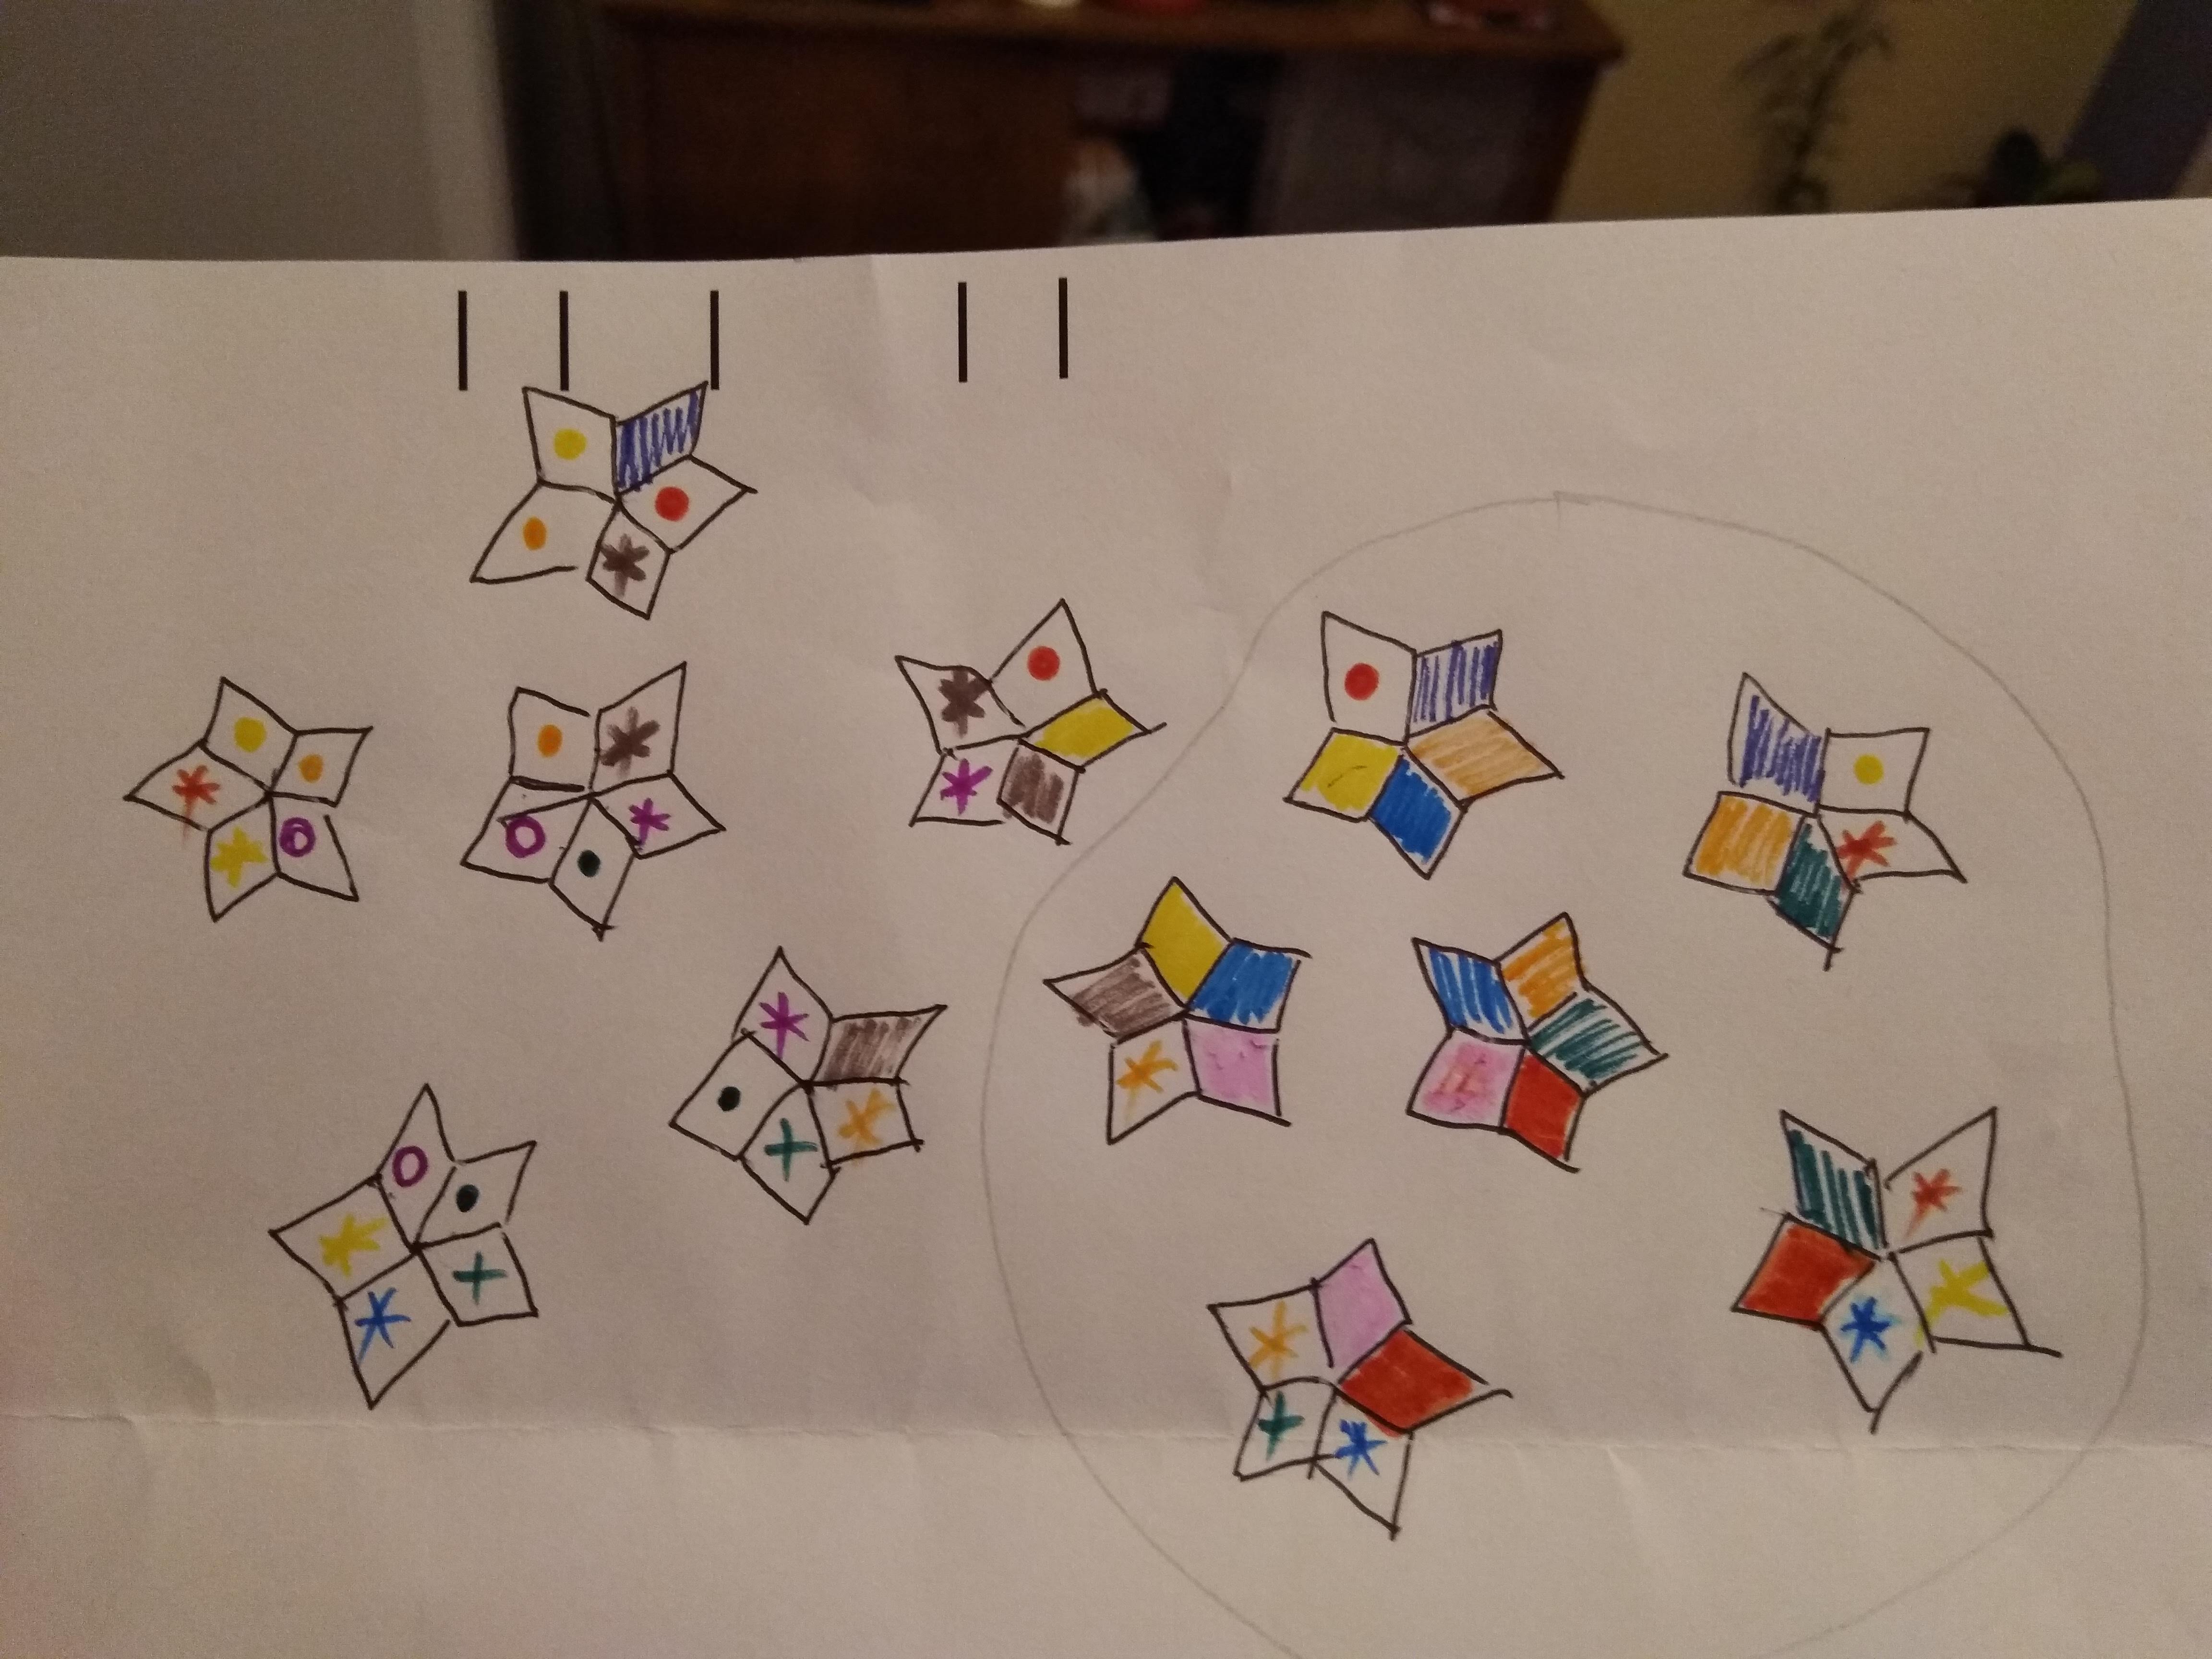
So I made a scheme with 20 different colors. You can download and print from HERE .

I have selected 20 Christmas fabrics, cut 60 cardboard templates and prepared the diamonds with glue- 3 of each fabric print. On the back side ( on the cardboard) I have placed a color sign that reminds me of the position in the star.


Then ordered the first side star and stitch all the diamonds right sides together.


 Keep in mind it the finished side star is not flat.


Gathering two side stars -  place the stars wrong sides together and stitch. After finishing the Moravian star the Moravian Star you have to leave the cardboards inside.


Repeat the same way to make one side star surrounded by 5 side stars - on the scheme I have circled with pencil. This is the first part of the Moravian star.

On the points where are gather three diamonds from one and the same fabric you have to fold the corners at 60 degrees - see the next picture.


Make the second part of the star - similar like the first one. 

Carefully gather keep in mind to align  the same fabrics at the points.


Choose one point to put a hanging cord.


Merry Christmas!


Monday, July 20, 2020

Christmas in July

There are left only 10 days of discount Christmas in July!
Snowflakes, Christmas trees, Christmas wreath...
Make your first paper pieced quilt block now!
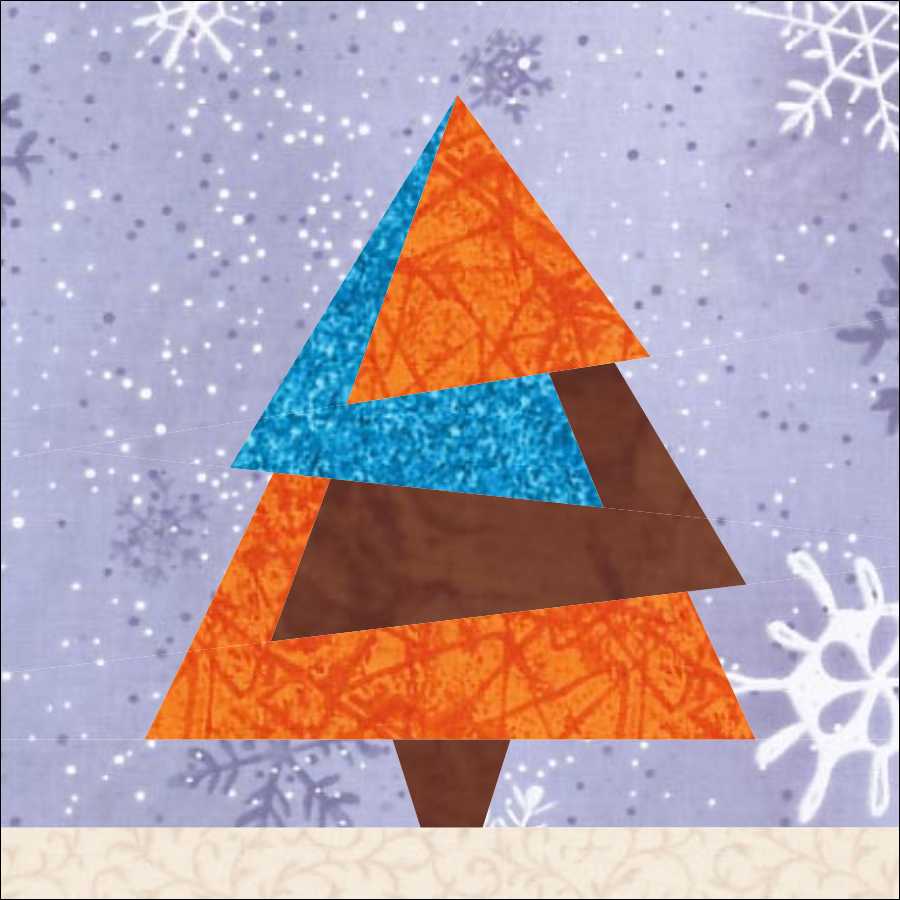
Here is one of the suggestions. Origami Christmas Tree.


Monday, November 5, 2018

Time for Christmas or Christmas time

The preparations began right after Halloween. Or much more earlier in July.
When do you begin?
For me is different every year.
It depends of the mood and the weather.
Now outside is a splendid autumn so thinking and preparing something for Christmas is almost impossible.
But designing this Christmas tree was so fast and funny.


After drawing with EQ7 began coloring .
At the beginning the tree was very bold - only in green colors.


After one false movement of the mouse there appeared  new possibilities.


Different background looks like the winding way, don't you think?


Check soon for next trees.
I have some ideas about.

Sunday, December 3, 2017

The quilt - Hours before Christmas

Since my last post I was involved to create two quilts for Christmas.
Working on them was a real challenge for me.
Love the final result.


24 blocks as the days before Christmas, 12 clock faces as the hours of the day, 12 clock faces as the hours of the night. Each hour is so different.

After making the design I began follow the idea.
Collected  all white, green, red fabrics I have in my stash. Then added the gold printed ones.
I ordered them on the bed - almost 140. There are satin, taffeta, velvet, cotton fabrics.


First I began to make each block paper foundation. After sewing the second one I remembered about freezer paper. It was a perfect idea. - the work began going much easier.


Then I have made the second quilt.


 After sewing all the blocks I collected them and began thinking of quilting.

It has to be light and air.
I found a golden thread - perfect addition to the project.


The half of the blocks are with such star, the rest with different.


Final balance 22 white fabrics, 28 red and green, 2 golden - for the bindings.
I am satisfied.

Friday, July 14, 2017

The Christmas tree #2


Oh, Christmas tree!
The song is so beautiful! Hope the new paper pieced block is so lovely as the song.
I am proud to introduce my new pattern after some month silence.


The pattern is very ""flexible".
If make the last piece in the down section the same color as the background you will have different block.
Easy to sew even for beginner. You can use foundation method or freezer paper. Fast and funny to make.
Chose different colors for different look.


You are right to ask about Number one.


Monday, November 23, 2015

Oh My Deer or sewing small squares

 I always like sewing little items.
Do you know these tiny pieces - sometimes sewn improvisational sometimes ordered with perfect matching corners.
Till one morning a week ago.
I have seen a tapestry diagram on Pinterest with reindeers, trees and snowflakes.
I knew I had to make it as a quilt - this time mug rug only.
I made a sketch of squares and began cutting.
Ordered the small pieces on a fusible interfacing with little help of glue stick.


Ironed when finished and began sewing.

  Here I realized how small is one inch square.

 But I kept sewing.


I wish I knew another way for using a fusible interfacing.
Elizabeth Hartmann from Oh Franson shared an interesting and helpful method.

I wandered a little bit about binding, but finally have a finished mug rug


The diagram is very versatile - use different size of grid to sew mug rug, cushion case or tablemat.

Enjoy your creativity!

Thursday, December 25, 2014

Christmas stockings everywhere

Well finally I have enough time to tell you about how I have made Christmas stockings this year.
I had to make 4 of them by order (the lady from last year wanted to have some).


I have many ideas for the front side, but the back should be made faster.
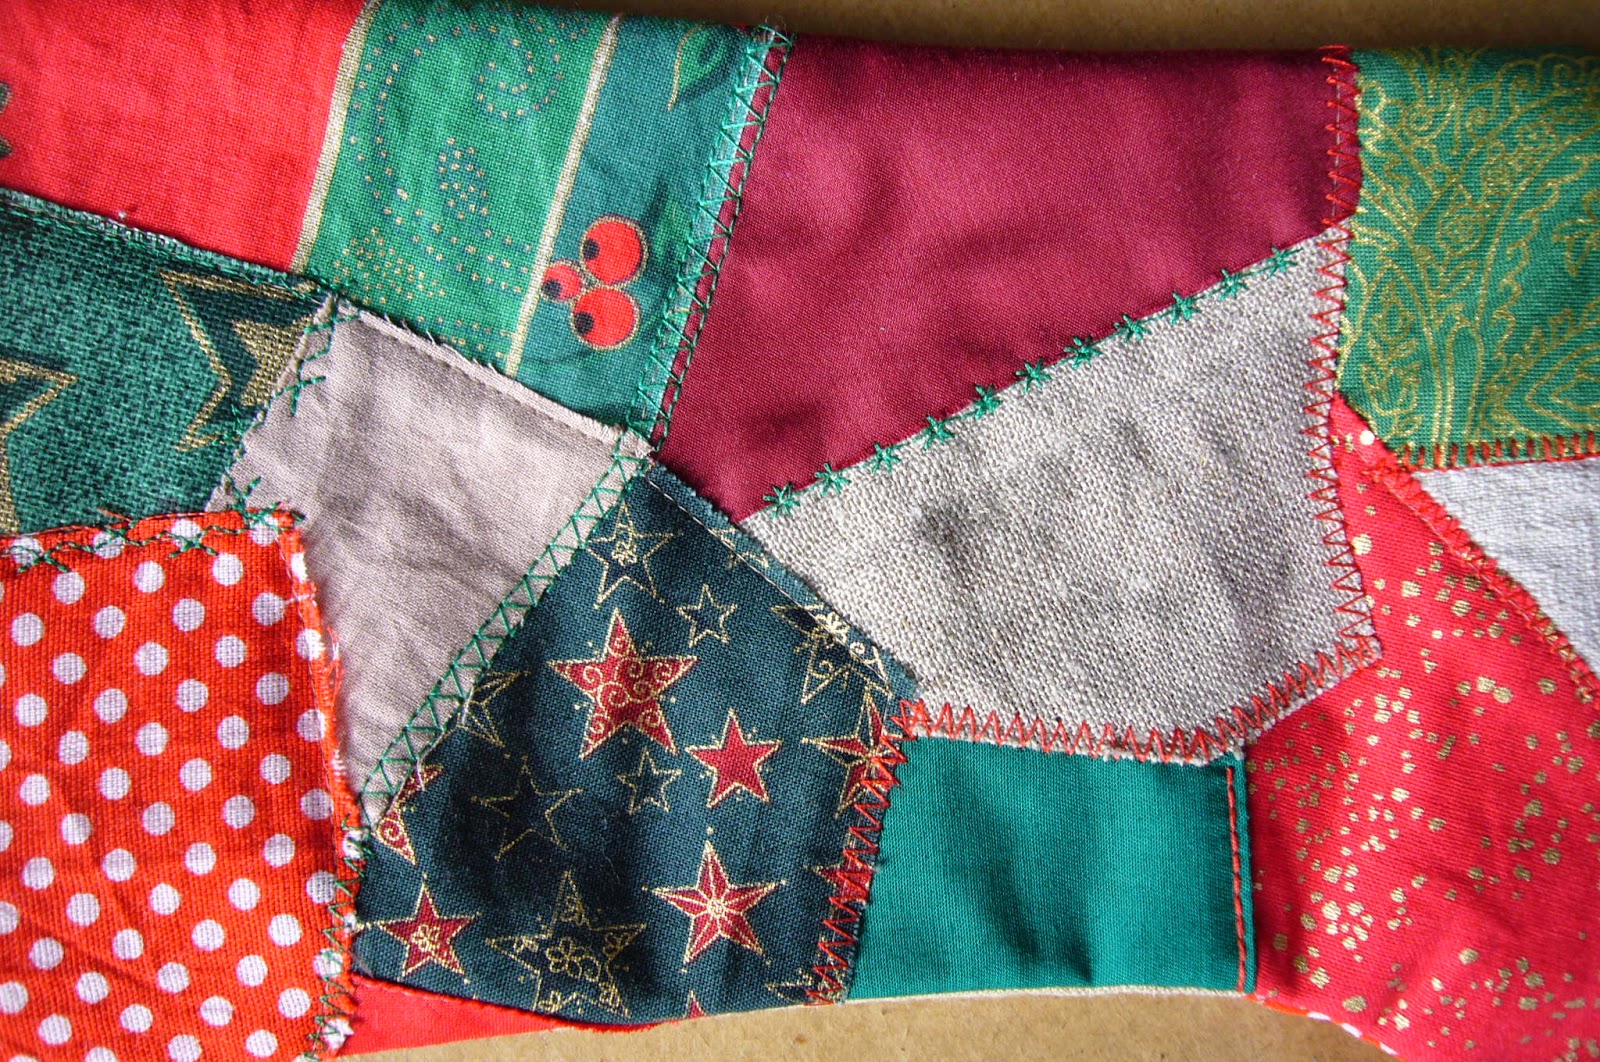
So I cut 4 different fabrics bigger than pattern  (around 1 inch seam allowances) and lay them right side up.


Then made 3 cuts.

And jumble the pieces .

If the fabrics are printed you will have stockings "one direction" only.
I have used woven fabric so could turn one of the stocking.
Stitch the pieces together.


Add batting and quilted. Trim to the pattern size.

For the fronts I have made the lights

and used even small bells.

 I like too much this one with crazy patchwork so made some more stockings.


This one with back made from Christmas table topper.


The most beautiful by my opinion is this one


with back for which I used many machine stitches and a golden thread.


I had to made a stitch bible :)

Merry Christmas to all of you!

Wednesday, December 17, 2014

A Christmas swap

It is always amazing to receive  gifts.
And taking part in a swap is much more funny.
It was a challenge to be a part of Christmas swap .
I am well known with my love for making small things - mini wall hangings, mini art quilt, etc.
Now I wanted to make something more casual and I decided to sew a needlecase.
Everyday usage is a good way to remember the person who made it.


P.S. Some tips for my followers.

As you have seen the lining is made from two different colored fabrics.
If you use one fabric, get two pieces sewn together in the middle.
Note that you must have an opening in the center for turning over. (see last picture for details)


Place the prepared top right side up.
 

Place the lining right side down and stitch together round WHOLE perimeter.
This trick will guarantee you a perfect look.


Clip the edges to reduce bulk, turn right side out and iron well.
Close the opening using blind stitch.
Stitching felt in the middle will cover your possible mistakes.


Saturday, December 13, 2014

More Christmas trees

Do you remember my post from two days before? It was about a Christmas tree ornament.
Why not sewing more of them and give friends for decoration?
I decided to use small scraps from sewing stockings to make some more.
Collect different red, green, golden, printed fabrics and felt strips and cut them to triangles.
Thinking of how make my work easy I cut a rectangle of bating and placed them on.


Pin and stitch round perimeter.
Then trim leaving bating a quarter inch bigger.


Fast and easy!
Now turn back and stitch the rear triangle.
Clever, right?
Add string hangings and  count them. They were 14.
Good number for passing away 2014.