Monday, January 16, 2012

Cushion with a handle

Do you remember old suitcases?

I like vintage looking things, so inspired by a picture of a suitcase made a useful cushion with handle.
Do you like it, don't you?
Here is a tutorial.
You need an old sweater cleaned at non proper temperature shown at the label. In fact you like it but it is pure wool and  higher temperature and cycling turned it to felt. Now the pullover is small to be worn, but great material for this craft project.
Choose a zipper and piece of real felt another color.
Cut two rectangles from the front and back of the sweater.
In my case they are 17 in x 15 in.(43x38 cm) 
Cut 2 circles diameter 5in (13im) from felt. Divide them in four so you will have 8 sectors, like cake slices. Round the corners of each slice and place in each corner of the rectangles this way and pin. The distance to the edge is 0,5 in (1cm)
Stitch near the edge of the felt piece.
From the rests of sweater cut a handle.
I made it double to be more thick and handy to carry. Fold and stitch zig-zag to prevent breaking the thread.
Attach to the longer side of one part and stitch the zipper this way.
Cut a circle from felt - diameter should be equal the width of the zipper, divide in half and stitch at the end and beginning the zipper. This will hide the ends and make opening easier.
Open the zipper and cut with scissors to make an opening.
Then sew both rectangles right side together.
DON'T forget to leave zipper open to turn back the cushion!
The places where the handle is attached are too thick for the machine so I stitched by hand.
Turn over and you are ready.
The back side of the cushion.
Now you can carry the cushion where you want to have a rest!


Thursday, January 12, 2012

Love is...

The idea to show different faces of love became a reality.
Nice wall hanging with hearts and the word LOVE at the bottom.


There are different hearts - Yo-yo, stripped, wonky, crazy, french braid, broken heart, patched heart and double hearts.
Put the hearts in attic window pattern seem like they are in a box - I want to store them in a safety place.
I designed the patterns and had so much fun to make a wall hanging.

Love has different faces. Sometimes it hurts, but always it is a great feeling.
At the beginning it is like an embryo, so shy and small.This is the yo-yo heart.
Then began walking on straight roads, sometimes winding, sometimes it is crazy.
Sometimes Love is colorful and vivid and so tidy that all happiness of the world is only for you.
And suddenly comes first lie, scandals and broken heart.
"Patch" the wound and you are ready to looking for the next true love.
When you find it both hearts beat together. Till the end of time.

The Saint Valentine is here next month. You can buy the paper pieced pattern here.

Monday, January 9, 2012

New Year - new machine

As I mentioned in previous post - last for the 2011 - I win a new sewing machine in a competition mini Eco patchwork.
This is Bernette 25. Welcome to my home!

I had learned the manual carefully and began sewing.
Of course the first creation was a heart. Color, vivid and small paper pieced heart.

It will be a part of a project called LOVE. It has different hearts - Yo-yo, stripped, wonky, crazy, french braid, broken heart, patched heart and double hearts.
Love has different faces.
I was inspired by bubble gums from my childhood. They had different tatoo pictures inside beginning with the words LOVE IS... Do you remember them?

Later I understood that Love is... is the name of a comic strip created by New Zealand cartoonist Kim Casali in the late 1960s.
I will share with you next time when complete the whole wall hanging.

Saturday, December 31, 2011

2011 - what a year!

Almost gone 2011 was a great year for me!
Works, emotions, new friends.
Many projects have left on the paper or in my mind.
New challenges were in front of me.
I won  first Bulgarian competition for patchwork. The theme was eco-patchwork.
All the participants
https://www.facebook.com/#!/media/set/?set=a.229893230400917.57792.131690190221222&type=3
There was an international member in the hanging-committee -  Gudrun Heinz and a professor Anna Bojadjieva  from National art high school.
And the winner is ...
https://www.facebook.com/#!/photo.php?fbid=256557977734442&set=a.229893230400917.57792.131690190221222&type=3&theater
The big prize is a sewing machine Bernette 25.
The next my creations will be sewn on it :) 

Happy and creative new year!

Thursday, December 29, 2011

Oh, Christmas tree

Sewing Christmas tree seems to be very funny. This year I was fully engaged to make trees.

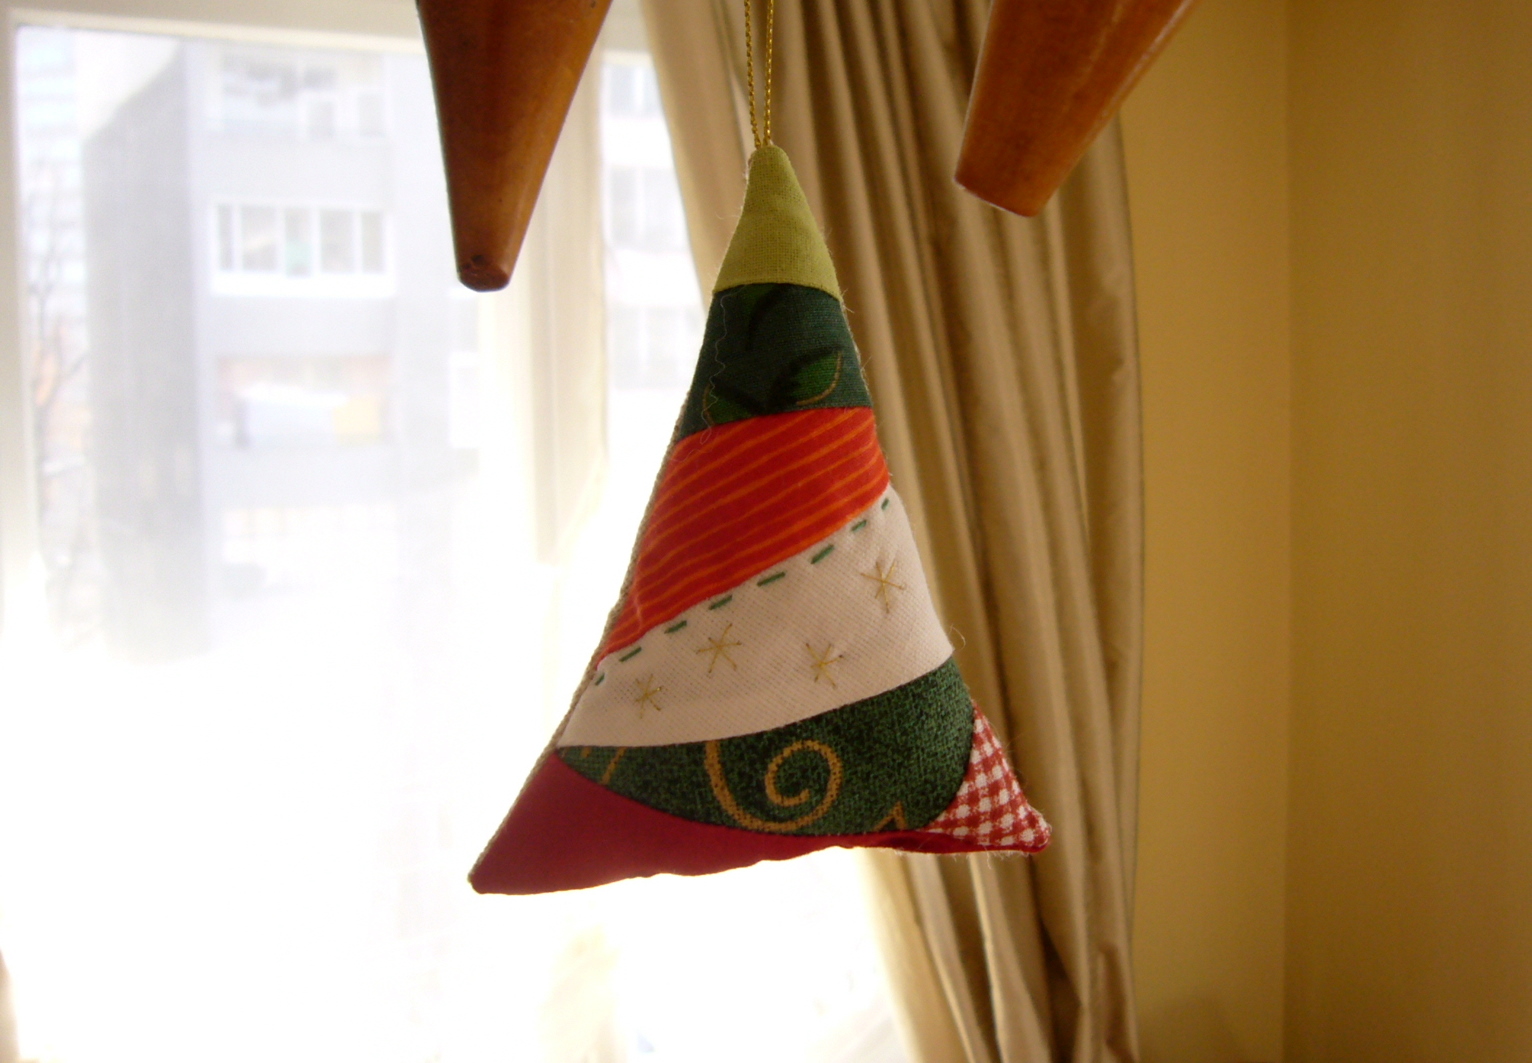
After first decoration hanging I made next one - similar idea, but different shape.

Next one was made from rests and filled with polyester.
I have added a pinch of cinnamon inside to keep Christmas spirit.
 
And the back.

Tuesday, December 20, 2011

Tutorial yo-yo Christmas tree


 As I promised here is the tutorial for Yo-yo Christmas tree.


 Cut some circle diameter 3 in (8 cm) and 1 inch hexagons.

 
Make yo-yo and hexagons (English paper technique).
If you prefer applique hexagons use fusible web to make them easier.
Arrange on a surface as you desire.
 Begin stitching with hidden stitch on a fabric.
 
Cut a shape near Tree - look at my mat for size in inches.

Add batting under the top.
Cut the back fabric same shape and stitch on the top an 4 inch (10 cm) ribbon for hanging.
Sew right side together leaving an opening for turning over.
Turn over and stitch. Add some hand stitching round the tree.
The final look

MERRY CHRISTMAS!

Christmas tree inspired by...

Yesterday morning I saw on ETSY Front page this beautiful Christmas tree made by Jennifer.

I was so excited so decided to made immediately a patchwork with yo-yo.
The fabrics were chosen, cut and sewn, but my eternal love to hexagons added some details.
Look what happened at the end


Do you like it?
I am preparing a tutorial and will post here in some hours.