Sunday, November 11, 2012

Let it snow outside! - tutorial

The winter will be here soon. It is going cold, the days are shorter.
First snowflakes will be dancing in the air.
Today this paper pieced snowflake has appeared in the fabric window.
Do you like it?
Go on with reading the post. I will show step by step how to sew this hanging.
Paperpiece half of the snowflake. You can find the pattern in my shops in Craftsy.
Note this is half of the pattern. The snowflake is still falling. And the project is easier and quick.
Cut two pieces with given dimensions an add a piece to each side as shown.

Cut a rectangle 7 x 11 inches and sew together.
Cut stripes 2 inch width and attach round the square.
Cut 14 inch square from back fabric and batting. Sew the top and back right side together as shown on the picture. Do not forget to leave 5" opening without seam for turning over.
Turn over, sew the opening blind stitch and iron.
Stitch a quarter inch from the edge and quilt as you desire.
I have chosen free motion quilting with white thread remembering snow.
Sewing hangings.
Cut two rectangles 6 x 3,5 " , fold each or them and stitch this way.
Turn over and iron. Make buttonholes and stitch to the back side of the quilt 1,5 " from the side edge.
 Sew the buttons and you are finished.
Let it snow!
You can use the same pattern for table runner or cushions.


Saturday, November 3, 2012

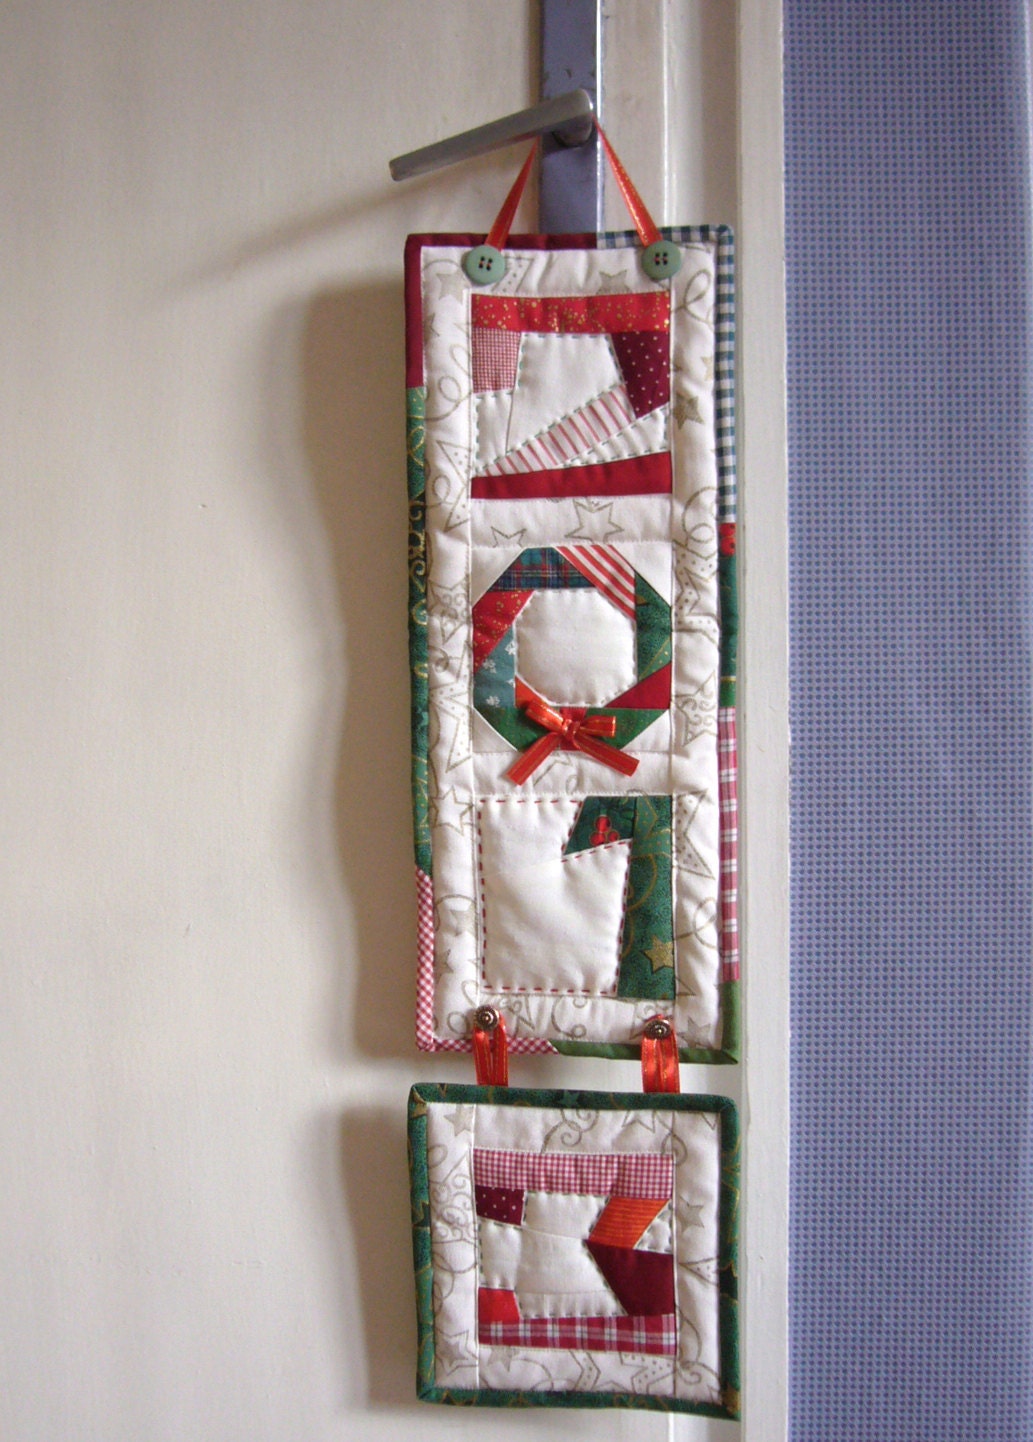
New Year wall hanging decoration Quilt


  New Year wallhanging decoration Quilt  paper pieced  PDF Pattern changing nimbers

 In time of crisis we should make adjustable works, so I designed this wall hanging such way.
The last piece is joined by buttons, so next year you would sew only the number 4 and hang again!
And then sew number 5 and so on.
Last year it looks this way.
Pattern available in my Craftsy.

Monday, October 22, 2012

Balloons, balloons

Today I was playing with balloons.They are a part of my circus theme.
You could put on a potholder, table mat, baby quilt, bag, etc.

The mirror version I made with four stripes which is the full pattern.
 If the fabric you had chosen is very colorful you can use only one piece for the balloon.
You can find the pattern here.


Thursday, October 18, 2012

Wonky Double star

I can't believe that one pattern (designed by me) could change into another. With little help of me of course.
But I like the transformation. Very much indeed.
Do you like it? Might be in this orientation.
It is easy to sew. Believe me - all the seams fit perfect.
You can make in a Christmas version of course.
Get the pattern from here.


Saturday, October 13, 2012

Bunting flags paper pieced block

I know I promised to make these patterns still in September, but some events changed my plans.
Anyway the circus theme quilt is going slowly, but surely.
The clown was alive, the rabbit in a cylinder, the ballon, chapito. All of them are in my Craftsy store.
Now it is time for bunting flags or banner I intend to put round the whole quilt.
Designing and sewing were easy. I found that I need more time to take a picture and posting here.
The great idea of this pattern is that sewing a mirror image and attach together will give a long, long garland of flags that could be used as a boarder.
Don't throw away anything of your scraps, it will be very useful for this project.


Thursday, October 4, 2012

Klimt inspired mini quilts

This year is the year of Klimt.
150 Years from his birthday. Read more about Klimt here .
I like his works. First my patchwork inspired by Klimt was a curtain.
Now it is "The tree of life". With his spiral branches and gorgeous look of the woman's dress.
A set of three  mini quilts. 4 3/4 inches squares. You might say it is too small.
To fit  IKEA's frames.
Golden taffeta (small pieces left from my curtains) and polyester silk in mint green, neon purple, deep dark blue (on my pics it looks like black).
As I mentioned this quilt had to be put in a IKEA frame, so I  made an unusual quilting.
I decide to use as a back fabric a sheet of paper..
Yes, you are reading right - PAPER.
This gives two advantages:
The first  - the quilting will be more bold.
The second - it is easy to stick on the cardboard inside the frame.
I have added thin layer of batting and stuck to the paper with tape.
Quilting was like the tree's branches.
Add framed cardboard.
Final look - it is a little bit tilt, but the glass of the frame reflected everything standing in front of.
The picture is not so beautiful as the real quilt is.
I like the depth of the frame. It helps the quilt to be seen well.
The next one from here

to the frame


All three together.
It is a pity I finished late in the night and hurried to share with you :)


Monday, October 1, 2012

English place mats

I received a set of two tea towels.
Lovely prints from most famous England sight seeings. There are Tower bridge, Nelson column, Big Ben..
There are taxi and telephone box, guards and bobbies, too.


But I have too much towels.
How to use this cute fabric?
I made place mats!
Ripped the seems, ironed, divided in two each of the towel. I used for binding white blue striped tape.
Now I have four great place mats.
Thanks for the gift and hope you like my tribute to the English looking place mats.