Friday, December 18, 2015

Upcycled Denim Apron

I have had interests in recycling for years.
I collect interesting velvet shirts, bandanas, satin pieces, taffeta, silk and organza.
My friends know about my passion ad help me in my efforts.
Sometimes I have no idea about future usage of any piece I receive, but collect them accurately.
This habit pays me back when need an interesting accent for my new creation.
I like making contemporary quilts, so having various pieces never is enough.

Denim scraps are always a good decision for making different gadgets, so I have started a special board named DENIM on my Pinterest account.

Last my idea is to make an apron from old denim.


Rip the side seams and stitch together the trousers' legs to receive a rectangle about 32 x 23 inches.
Draw a pattern on the "new fabric".
Here are the measures.


If you have zig zag scissors use it.
I like rough edges so decided on using a method like rag quilt. Sew a stitch about a presser foot from the edge an clip every quarter inch.

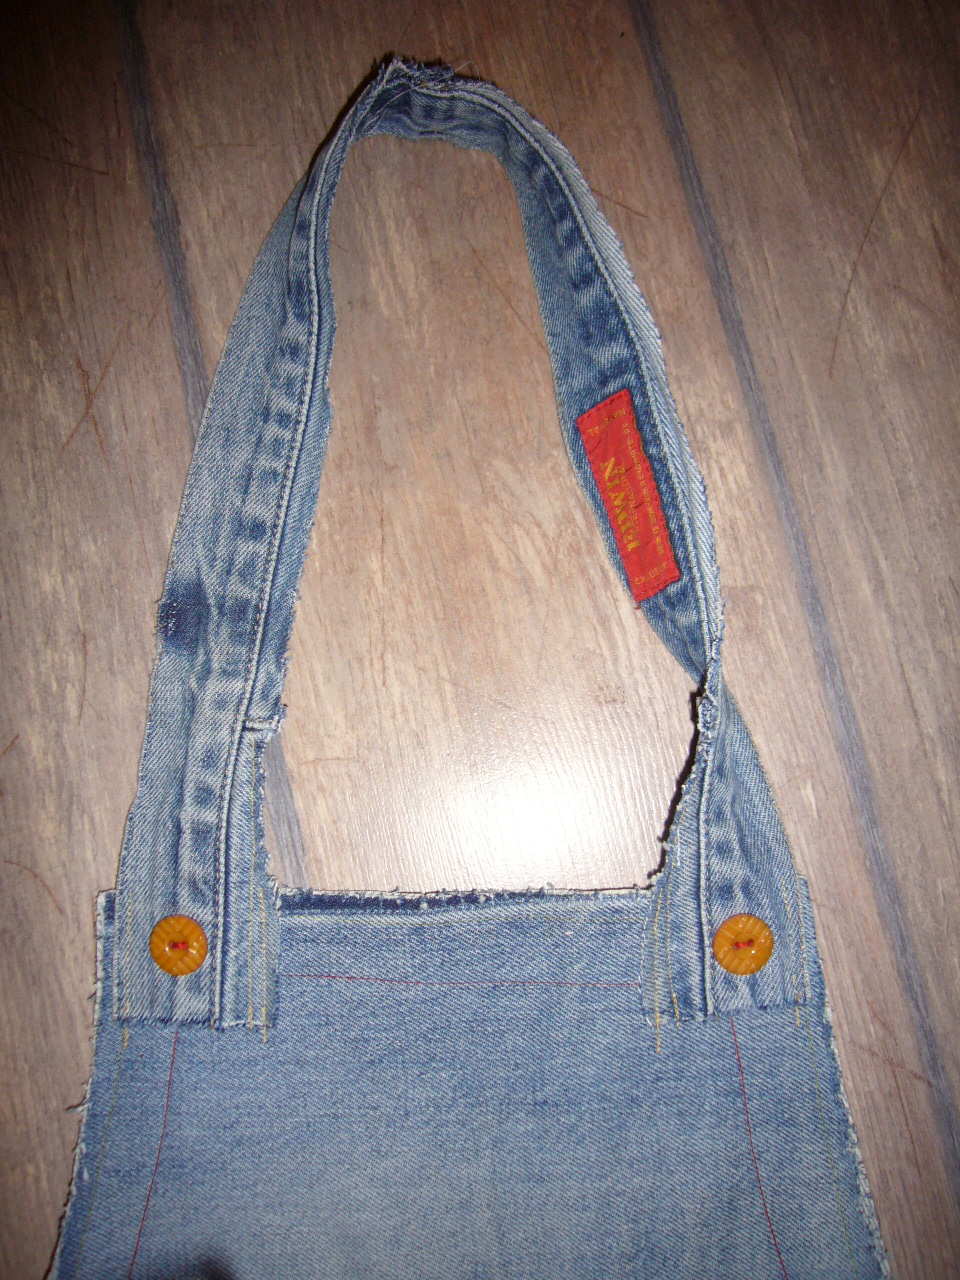
For the neckstrap cut 25 inches long from waistband stitch firmly.
I have added buttons.


Do you wander about pocket?
Cut one of the back pocket and applique.


If the fabric is worn out somewhere add some darning with stitching or adding a patch.


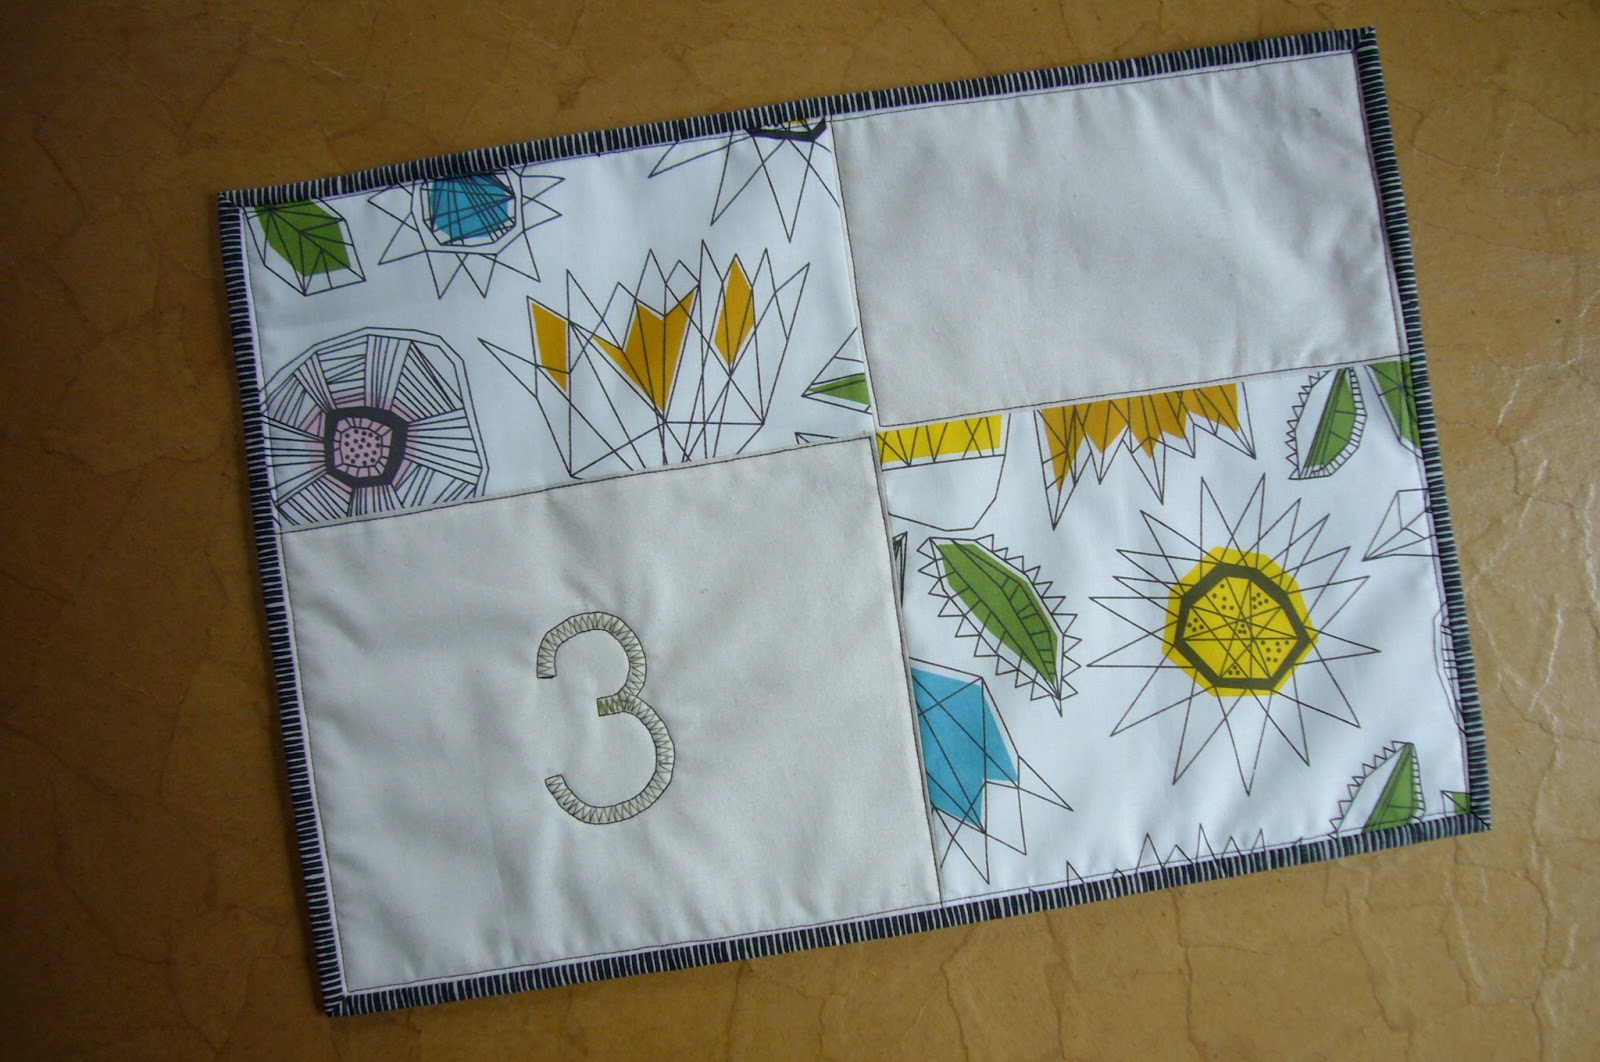
The back of the apron


Tuesday, November 24, 2015

The Four Tablemats

They are designed as an addition to the coloring tablemats.
The happy owner asked me for 4 more placemats.
The idea came looking at a notebook with zig zag numbers.
What a nice gentle touch to the first two placemats.


The threads for the numbers are the same as on the print ed fabric.


The back sides are as follows - two printed and two bold.

Monday, November 23, 2015

Oh My Deer or sewing small squares

 I always like sewing little items.
Do you know these tiny pieces - sometimes sewn improvisational sometimes ordered with perfect matching corners.
Till one morning a week ago.
I have seen a tapestry diagram on Pinterest with reindeers, trees and snowflakes.
I knew I had to make it as a quilt - this time mug rug only.
I made a sketch of squares and began cutting.
Ordered the small pieces on a fusible interfacing with little help of glue stick.


Ironed when finished and began sewing.

  Here I realized how small is one inch square.

 But I kept sewing.


I wish I knew another way for using a fusible interfacing.
Elizabeth Hartmann from Oh Franson shared an interesting and helpful method.

I wandered a little bit about binding, but finally have a finished mug rug


The diagram is very versatile - use different size of grid to sew mug rug, cushion case or tablemat.

Enjoy your creativity!

Saturday, November 14, 2015

My patterns become alive

Last 3 week I have some health problems - at the beginning it was like a flu. Then it turned to stomach  disorder. As a result I loosed three kilos .
I know many of you envy me for the last fact, but trust me I am not happy about this.

In addition to these troubles after last update of my browser disappeared saved passwords on my computer  and I have to enter them for most of the places I visit. I have problems even to enter in my blog.

Tonight is lucky time for me.
After entering here I have seen that most of the visits are from Gosses bags and gifts
I have checked and what to see -  Myrth has made a beautiful quilt using my pattern Counting Sheep , wrote a post and mention my blog.
This is amazing!
She add some grass and a butterfly to the design and created a nice quilt.
P.P.
I have permission to post here picture of a finished quilt. Thank you, Myrth. I am happy and satisfied.


This guy is my favorite.

Do you like the sheep?

Monday, October 12, 2015

Leaf alone quilt block

I couldn't believe this paper pieced block pattern is finished and introduced to the quilters .
I love joking and like the idea for name of the pattern. 
I have made a leaf and use it in my wall hanging The four seasons
Outside is a beautiful autumn so after making a mug rug for a friend of mine I realized it will be great pattern for creating many items - totes, pot holders, wall hangings.


Combining fabrics different palettes gives interesting seasonal look – you could easy collect all seasons in a wall hanging.

Spring


Summer


Fall


Winter 


Wednesday, September 30, 2015

Sound wave

What do you hang on the wall between two speakers? What will be the perfect picture?
I have to create a quilt for such place.
The idea is to show the sound wave between speakers.
And the most challenging decision is making it as a 3D quilt.
At the very beginning it was gathered strips only.


Then were plates and quilting.


And the final look comes.


The size is 40 x 26 inches.
Sold!

Thursday, September 24, 2015

The four seasons Wall hanging

 Two months ago I have a really interesting order to make a wall hanging that will match to the interior of a room. It was a real challenge because of mix of various materials and special spirit of the interior.
I decided on classical Black and White with fuchsia accent.
The four seasons always are good theme for improvisations so trees and fallen leaf are quite interesting directions to push my efforts.
In progress on my design wall:


I usually work with mini quilts or single blocks so my wall is narrow for entire top with boarders :)


For quilting I try the spiral for collecting all seasons and as reminiscence of tree annual rings.


I love using my walking foot. The quilting took me almost 2 hours - to short time for the quilt sized 33 inches square.
Are you interested in getting more fluent in using walking foot.
take the course at CRAFTSY Creative Quilting with Your Walking Foot


Saturday, September 5, 2015

Coloring mat for adults

Have you heard about the new anti stress therapy - coloring books for adults?
And especially Johanna Basford's Secret Garden.

I had to sew mats and wandering about design.
I have looking at my fabrics when found this one - IKEA designed print very similar to the coloring pages.


Immediately imagined a mat like coloring page.
Two hours later I have a finished mat.


Are you interested how to do? It is absolutely fun and easy.
Let's started!

1. Cut a piece 13 inches long selvage to selvage.

2. Then cut a rectangle 10x13 inches (left piece on the picture). The right one we will use for transfer the drawing lines and at the end as the back fabric..


3. Cut a white rectangle 10x13 inches and stitched both pieces right side together.
Iron the seam open an you have a top.

.
4. Now it is time to transfer the lines from the printed fabric onto the white one.
If you have LightPad to transfer the lines use it.
I usually use a window glass in daylight.
Get the right piece from Step 2 and tape it onto the glass.

5. Adjust the prepared top from Step 3 to fit the print so that you can see the complete drawings.


6. Now transfer some of the lines with Trick Marker self-erasing.

7. Cut a piece of batting bigger than the top, sandwich and FMQ with black thread.

8. Place a piece of fabric for back, stitch in the ditch and make a binding as usual.


Now you have a finished mat!

You can use any similar printed fabric with drawings if not have IKEA design.

Thursday, August 6, 2015

Personalized baby bib

The nice hexie letter R I have written about some days ago was the beginning of this little project.
Some months ago my Italian friend Elisa from Dilana&Dilino-Creazioni-Patchwork has a baby.
I want to make a special gift for the baby - little Roberto.
I want to try my new pattern Hexie alphabet and choose to make letter R and apploque on this bib.


I am satisfied with the result.
Especially like the idea for quilting.
Do you remember this game when there are written letters on a sheet and you have to connect them to have a whole word?
I write the letters of the name R-o-b-e-r-t-o using first paper pieced R and FMQ for the next letters.


Then add bias binding and stitched by hand. I had to be very careful at the curves to keep the shape.
My friend Elisa is a perfect quilter,so I have to be precise.


At the end I embroidered the letters with another color to make the name more visible.


I sent the bib and began waiting for the answer.
Do you think Elisa liked it?
The answer came yesterday - lovely picture of Roberto wearing the new bib.
I am happy having such friends.


Thursday, July 30, 2015

Needle case - an addition

Hallo everyone who like my last paper pieced design - paper pieced Hexie Alphabet and needle book with a letter on the back.

Another way to prepare hexagons for the needlecase is described here.
And bonus addition - you should use this method, too. Thank you Megan from Canoe Ridge Creations for lovely detailed tutorial.
I found them some days ago while looking at Pinterest.

Waiting for your hexie.
Happy sewing!

Wednesday, July 29, 2015

Hexie needle case - so inspiring

Last week I saw a small hexagon needle case shared by my friend Elnora at Instagram.
She make beauties with fabrics. And she is always a supportive helper when I have difficulties with American English.
So, what has happened next. I have to make a present for a friend of mine - Maria, who creates nice bags and cushion covers. And the solution was - to make such hexagon needle case.


 The front and back are paper pieced hexies sewn together by piece of felt.


Each of the covers is made by two hexies prepared with well known  English paper piecing.
Stitched together using blind stitch.


I decided on two colors felt pages - red and gray.


It is cute, isn't it?


If like the idea, the pattern will be available soon.
Happy sewing until then...