It is not easy to sit down in front of computer to write a post here with Instagram's invasion. Not so easy as before. With mobile in hand it seems the easiest thing is to open any App.
Call me old fashioned , but I am still doing my effort to keep alive this kid - my blog. 11 years so far. It became a teenager. Ha ha.
The last quilt for 2021 was a special design for a 14 years old girl.She described her idea and mentioned her favorite colors. You say it is enough , let's go!
I have promised to myself not to buy any fabric until I reduced my stash at least half. So I have use small pieces to create something that catch eyes.
At the beginning I draw a design with small squares 3 inches unfinished, but it seemed to ugly.
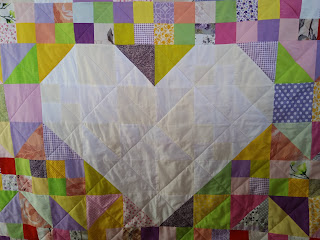
Then updated to this
calculated the blocks and started to make them.
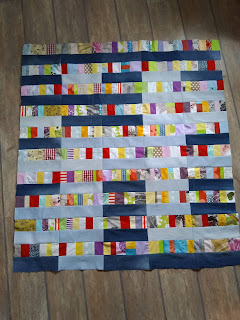
First order on the floor has shown it is too busy, especially the blocks containing red square.
I realized to place them in something as a frame .
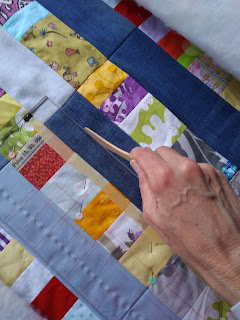
A this stage I ordered similar blocks separated in rows - small squares, half triangles and bold squares. When I say bold it means - hand written prints as love letters, printed hearts, rose as a flower of love, a Tour Eiffel stamp - as you know the Paris is city of love.
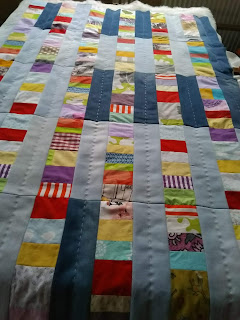
I like this order so much and and stitched together.
The back
That was the whole story of the last 2021 quilt.
Wishing you all Merry Christmas and Happy New 2022!
Be fill with joy and power, be sensitive, creative!
Discover new challenges!