Friday, August 16, 2013
New year wall hanging
I have started these project in 2012. Then added the number three for 2013.
And forget about it.
Now in hot summer I was asked by some quilters to update my pattern New Year wall hanging.
Is it time for New years preparations already?
In fact it is very easy and fast to update - I have sewn the number 4 only.
Now it is in my ETSY shop.
If you have CRAFTSY account only - visit here
If you have the pattern from last year - add only the missing numbers 4-9 from here.
You would use it till 2019 :)
Happy sewing and preparations.
Monday, August 5, 2013
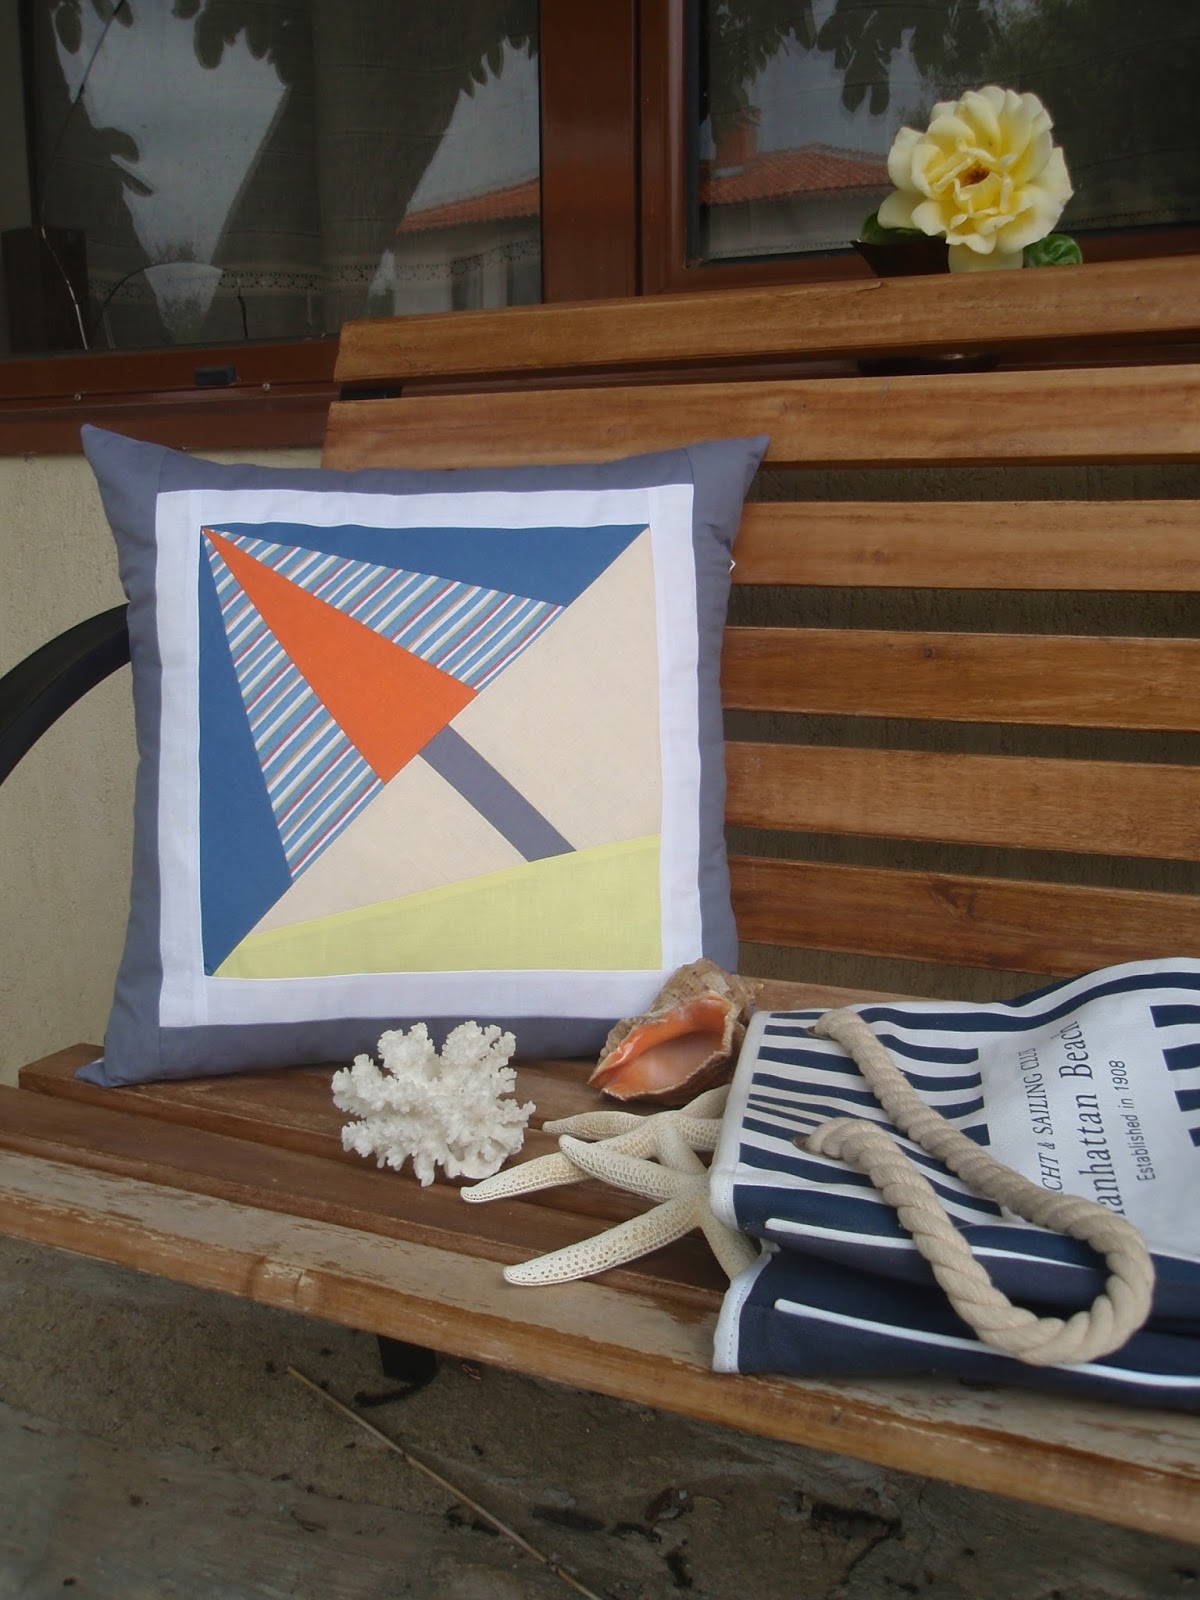
The navy cushions
The blocks for these pillow covers were made in May.
The cushions were ready in June.
The pictures are here now.
The process from sewing to displaying took me more time than I expect.
I wish I have more opportunity to show my works faster.
The cushions were ready in June.
The pictures are here now.
The process from sewing to displaying took me more time than I expect.
I wish I have more opportunity to show my works faster.
Sunday, August 4, 2013
Le cheval rouge - The red horse art quilt
Some years ago I have visited n exhibition of student graduated the National art school. And I was impressed by a poster with the poem of Jacques Prevert. I have learned it by heart.
In the carousels of the lie
The red horse of your smile
Turns
And I am standing frozen there
With the sad whip of reality
And I have nothing to say
Your smile is as true
As my four truths.
As I have more self-reliance in my patchwork and quilt skills I decided to create this quilt.
I have no doubt about quilting. Straight lines for the spotlights and background.
Do you know how to make a move with the horse when playing chess?
This was decision for quilting the carousel (manege) .
Instead of simple label on the back I put printed text of the poem in three languages.
P.S. The size is 18 x 22 inches.
In the carousels of the lie
The red horse of your smile
Turns
And I am standing frozen there
With the sad whip of reality
And I have nothing to say
Your smile is as true
As my four truths.
As I have more self-reliance in my patchwork and quilt skills I decided to create this quilt.
I have no doubt about quilting. Straight lines for the spotlights and background.
Do you know how to make a move with the horse when playing chess?
This was decision for quilting the carousel (manege) .
Instead of simple label on the back I put printed text of the poem in three languages.
P.S. The size is 18 x 22 inches.
Thursday, August 1, 2013
Quilting a square - tutorial
You remember my Circus quilt, don't you?
When I have shown it to the Patchwork group my friends advised me to add some quilting on the blank squares.
In fact I had been wandering about this , but have no final idea I preffer.
I tried to add stars, pinwheels etc., but without result.
So now, some months later, I decide to quilt squares. Two inch squares different thread's colors.
I haven't erasable pencil and had to think out how to stitch them equal.
FREEZER PAPER.
This was the solution.
Cut a 2 inches square and iron on the desired position. Measure with a ruler.
Pin around.
Stitch along the perimeter using walking foot or FMQ.
Remove the freezer paper.
So easy.
I had to change 9 times bobbins and upper thread.
I think the quilt looks better this time.
When I have shown it to the Patchwork group my friends advised me to add some quilting on the blank squares.
In fact I had been wandering about this , but have no final idea I preffer.
I tried to add stars, pinwheels etc., but without result.
So now, some months later, I decide to quilt squares. Two inch squares different thread's colors.
I haven't erasable pencil and had to think out how to stitch them equal.
FREEZER PAPER.
This was the solution.
Cut a 2 inches square and iron on the desired position. Measure with a ruler.
Pin around.
Stitch along the perimeter using walking foot or FMQ.
Remove the freezer paper.
So easy.
I had to change 9 times bobbins and upper thread.
I think the quilt looks better this time.
Wednesday, July 24, 2013
Red, dark red, violet
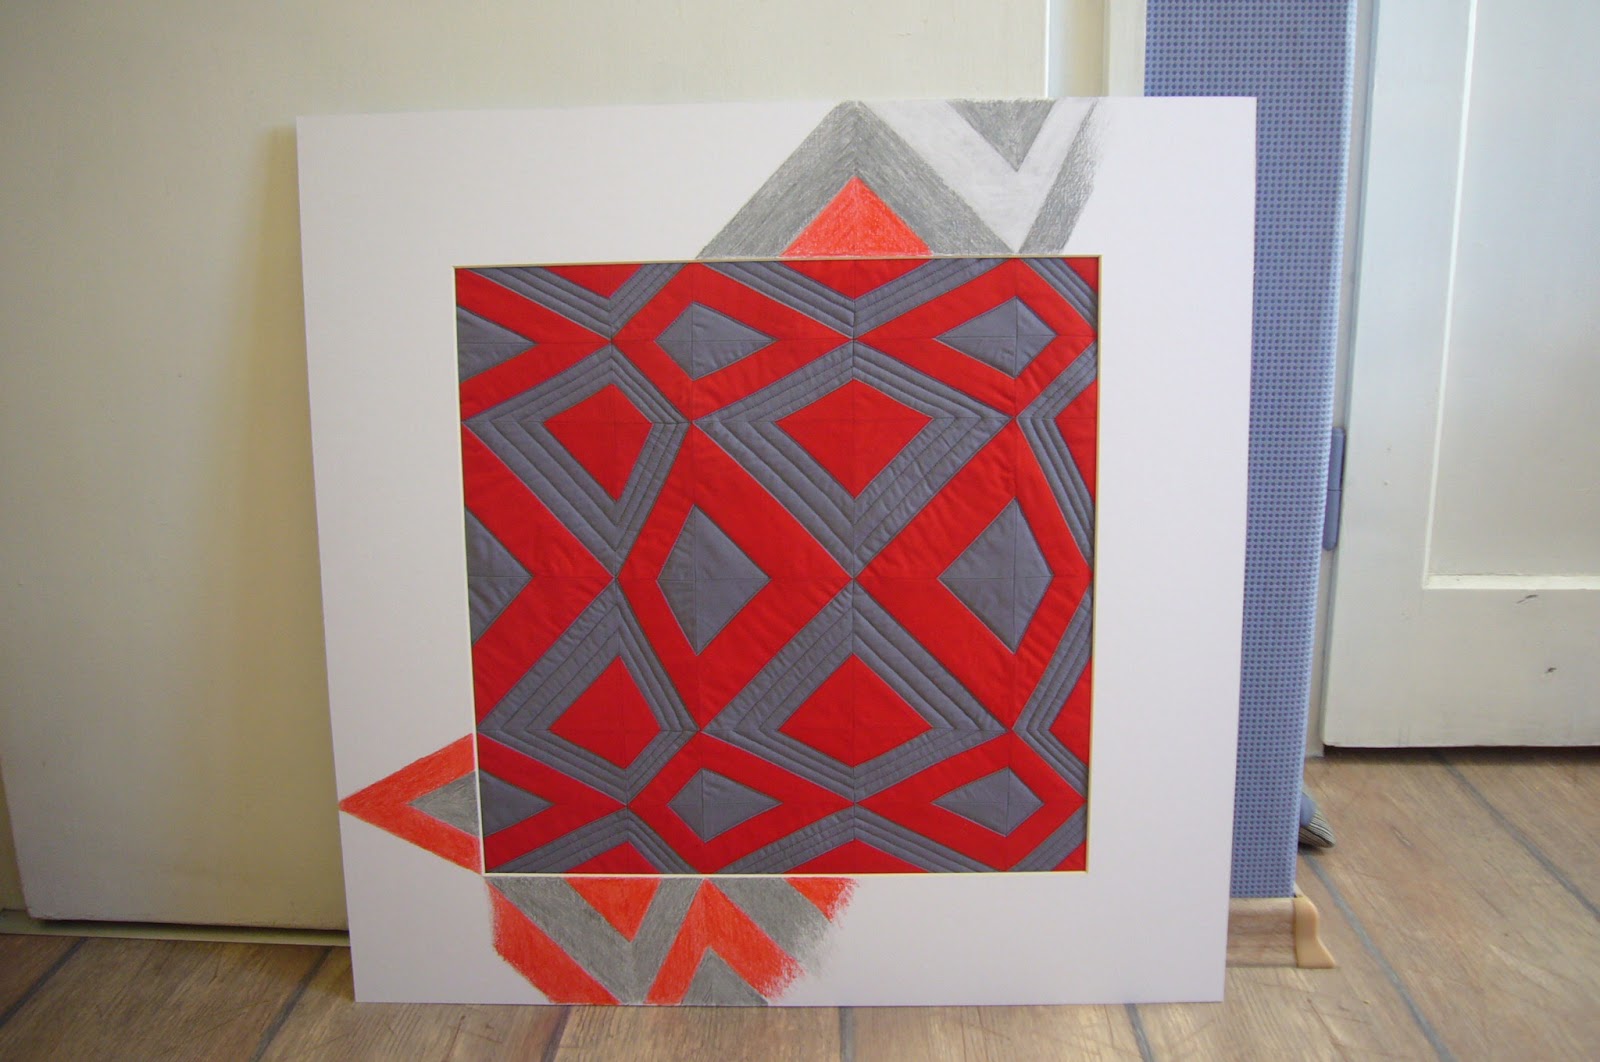
My blue green scrap mini patchwork has been laying in front of me more than one month.
I want to make in different colors so collect all the rests in red. They were not so much and I have to cut from entire fabrics. The piece was going to be "too hot " with all these red scraps, so I have added some violet.
I leaved the wavy edges as they are.
Compare to blue green piece this one has smaller parts.
Like both of them , but honestly said I have sewn the first one much more easy and fast. It was like a game.
Collecting pieces was a fast solved puzzle.
Do you wander what I shall do with them?
Might be make in other colors and collect them in a bigger wall hanging or make separate framed works.
The last one I have framed turned out great.
I want to make in different colors so collect all the rests in red. They were not so much and I have to cut from entire fabrics. The piece was going to be "too hot " with all these red scraps, so I have added some violet.
I leaved the wavy edges as they are.
Compare to blue green piece this one has smaller parts.
Like both of them , but honestly said I have sewn the first one much more easy and fast. It was like a game.
Collecting pieces was a fast solved puzzle.
Do you wander what I shall do with them?
Might be make in other colors and collect them in a bigger wall hanging or make separate framed works.
The last one I have framed turned out great.
Wednesday, July 17, 2013
A mini quilt on a frame - tutorial
I know, I know so long without posting here.
Too much ideas, too much to do.
Finally I did and succeed to write a post .
At the beginning it was an idea to participate in the quilt contest in Main, Germany.
The theme was Light and Shadows. I like it and have some ideas, but I am not absolutely sure I could make a competitive quilt. I have made different quilts, but still I am a low spirit quilter.
Anyway I decide to make a mini art quilt and stretch on a frame.
The pieced work in front of the window.
Finished top
You will need:
> a batting and back fabric.
It is better to use fusible batting.
> four strips of felt - each strip shorter than one side
> a tacker for upholstery
> And a frame with a loop of course.
Note that the backing and batting have to be smaller than the top itself to prevent bulk.
In traditional quilting backing and batting are bigger.
Lay the top right side down, then fused batting with backing.
Look at the picture how are trimmed the corners.
The exceed fused batting has to lay on the sides of the frame.
Displace the frame and basting . I used thread, but you could spray if prefer.
Quilt as you desire.
Using zig-zag zsitch atatch a felt strip at each side.
At this step you would have such result.
Now it is time to add the frame.
Lay the quilted top face down and place the frame on it.
Fold the upper side and tack.
Slightly stretch the quilt and repeat with opposite side.
Fold the corners as you wrap a parcel with paper and tack the next two opposite sides.
Screw the loop and stitch a label.
I found that it would be much more easier to stitch the label before framing :)
So don't make my mistake.
I suppose you are wandering about size.
I tried to hide it all the time ;)
Here it is - 6 inches square- what a mini quilt.
I am still wandering about necessity of quilting for such small pieces.
What do you think?
Too much ideas, too much to do.
Finally I did and succeed to write a post .
At the beginning it was an idea to participate in the quilt contest in Main, Germany.
The theme was Light and Shadows. I like it and have some ideas, but I am not absolutely sure I could make a competitive quilt. I have made different quilts, but still I am a low spirit quilter.
Anyway I decide to make a mini art quilt and stretch on a frame.
The pieced work in front of the window.
Finished top
You will need:
> a batting and back fabric.
It is better to use fusible batting.
> four strips of felt - each strip shorter than one side
> a tacker for upholstery
> And a frame with a loop of course.
Note that the backing and batting have to be smaller than the top itself to prevent bulk.
In traditional quilting backing and batting are bigger.
Lay the top right side down, then fused batting with backing.
Look at the picture how are trimmed the corners.
The exceed fused batting has to lay on the sides of the frame.
Displace the frame and basting . I used thread, but you could spray if prefer.
Quilt as you desire.
Using zig-zag zsitch atatch a felt strip at each side.
At this step you would have such result.
Now it is time to add the frame.
Lay the quilted top face down and place the frame on it.
Fold the upper side and tack.
Slightly stretch the quilt and repeat with opposite side.
Fold the corners as you wrap a parcel with paper and tack the next two opposite sides.
Screw the loop and stitch a label.
I found that it would be much more easier to stitch the label before framing :)
So don't make my mistake.
I suppose you are wandering about size.
I tried to hide it all the time ;)
Here it is - 6 inches square- what a mini quilt.
I am still wandering about necessity of quilting for such small pieces.
What do you think?
Tuesday, July 2, 2013
Christmas Tree in July coaster - tutorial
I always wander what does it mean Christmas in July. It is too early to begin the preparation for the Christmas in December.
Type on Google search bar and what I have learned. It is so funny.
I have designed a paper pieced tree for Christmas in July.
You could make many ways with different combination of green printed fabrics, add white lines as snow, add golden fabric as garlands.
You could embroider a star on the top or hand stitch the garlands.
For the 6 inch coaster (finished size) you will need:
6,5 inch block ,
6,5 inch backing fabric
6 inch square fusible batting.
First fuse the batting on the wrong side of the backing. Note that you have to iron at the right site.
Lay them right side together and sew round perimeter leaving 2-3 inches opening for turning over.
Clip the corners to prevent bulk.
Now comes a little trick.
Fold and iron well the seam allowances at the opening - the top and the backing.
This will be very helpful after turning over. Look how it loos at the side.
Now turn and iron well. Stitch round perimeter.
Add embellishment and quilting as you desire.
**************************
MERRY CHRISTMAS IN JULY!
Type on Google search bar and what I have learned. It is so funny.
I have designed a paper pieced tree for Christmas in July.
You could make many ways with different combination of green printed fabrics, add white lines as snow, add golden fabric as garlands.
You could embroider a star on the top or hand stitch the garlands.
For the 6 inch coaster (finished size) you will need:
6,5 inch block ,
6,5 inch backing fabric
6 inch square fusible batting.
First fuse the batting on the wrong side of the backing. Note that you have to iron at the right site.
Lay them right side together and sew round perimeter leaving 2-3 inches opening for turning over.
Clip the corners to prevent bulk.
Now comes a little trick.
Fold and iron well the seam allowances at the opening - the top and the backing.
This will be very helpful after turning over. Look how it loos at the side.
Now turn and iron well. Stitch round perimeter.
Add embellishment and quilting as you desire.
**************************
MERRY CHRISTMAS IN JULY!
Subscribe to:
Posts (Atom)