Tuesday, February 25, 2014

Meow, March is comming

The first Spring month is right around the corner.
Flowers and trees are  blossoming, birds are singing.
The sun is shining at the blue sky. I like this picture.
And cats are doing crazy.
I was inspired to design this mug rug.


The cats have been staring at the fishes so long that their eyes became a fish shape.
I decide to applique by hand with pearl cotton thread.
It is time to share with you a little secret I use when applique the sharp corners.

Sewing on the way to corner make the last stitch on this direction.
Then pin in the same place and then precisely at the corner.


Pin again at corner outside the thread loop to fix it.


Look at the result. You should have this.


Pin from back side inside the last loop.


 Pin for third time in the same hole (place) an then go ahead.


Continue usual way.


This manner will give you perfect look at sharp corners - like ears for instance.

Sorry, I forgotten to took picture when was at this place :)
I want to make a tutorial and show you my way of corner stitching.


The pattern is available on CRAFTSY and ETSY as usual.

There are second variant for the cats. Leave the eyes without french knots and they look like sunglasses.


Happy sewing!

Sunday, February 16, 2014

Owls, Owl, Owls

It was November 2013 when I received a mail from Sharon who had purchased my Owl paper pieced blocks Andy Warhol pattern.
 She asked me to help her to enlarge blocks at 200% . She wrote:
"I am making this quilt for a charity auction and I can’t wait to start!!! "

I am always happy to help my customer if they need a support with printing or something with sewing.
Yesterday I received a picture with the finished quilt.

Sharon surprised me with interesting idea when making eyes.
She fused black patches on the white trapezia. She wandered what shape to use.
She started with buttons and then went to triangles, squares and then finally chosen diamonds.

I think the last is the perfect choice.
Look how many different characters she has created.
The upper row (left to right)
horizontal eyes - strong
diagonal eyes - sad and old
vertical eyes - surprised
diagonal eyes - sly (foxes usually are drawn such way)


If you are interested in owls I have some others variants
Owl #2, Mom, Dad and baby owl 
and of course Owl Family
.

Friday, February 14, 2014

Second mug rug from the swap

I promised to post here some details about second mug rug when my partner received them.
Today is the day. I am so happy. My Italian partner, too.
This is the content of the envelope.


I have made a greetings card with a piece of the band and stitched heart by machine.
Making cards is my another passion.
When sew a quilt I always make a card with leftovers, write the care instructions inside and give it to the future owner.

For the second mug rug I decided to use the same fabrics for front and back. Anyway they are parts of the same swap.
The difference is the way they are look.
Because the white fabric is a little bit transparent I have put a blue felt under it.
Look how it has changed.


The leaves are from felt in in colors to match the five-ringed symbol of the Olympic Games.
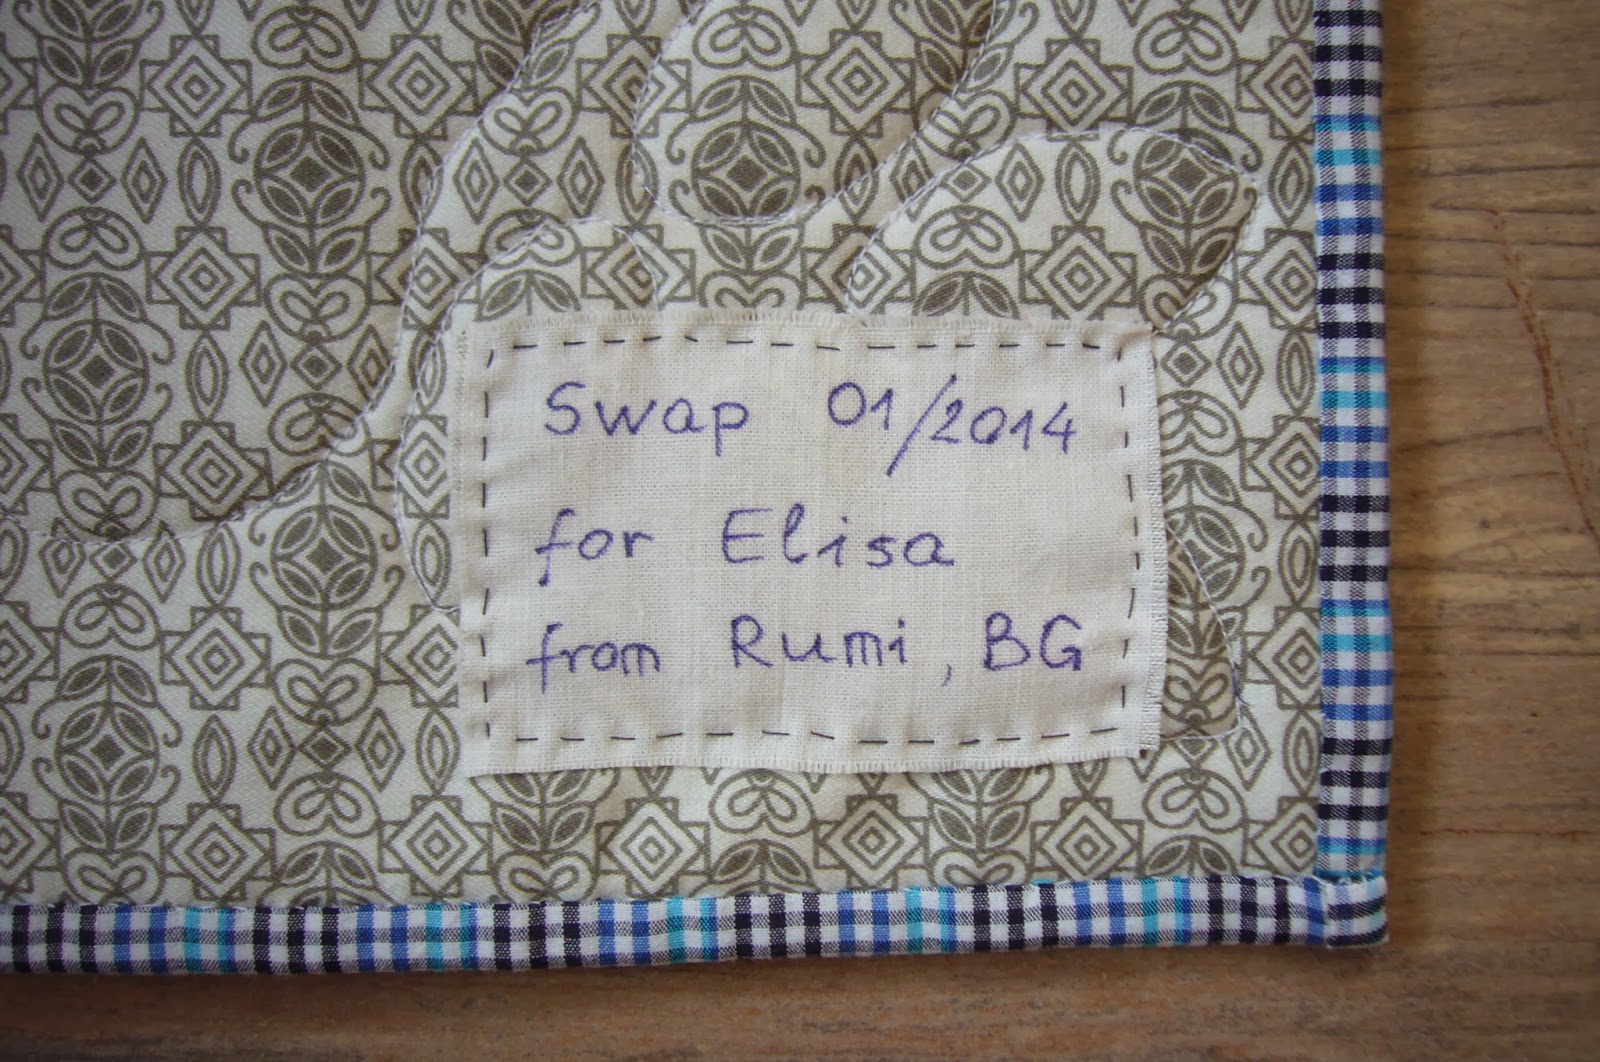
 The back is with label written by hand with permanent marker.


Saturday, February 1, 2014

Mug Rug Swap - Celebrate the Olympics

When I decided to participate in this mug rug swap organized by Mishka from QuiltingGallery I haven't realized how much fun I have. The patterns are designed by Amanda from The Patchsmith.
Receiving a mail with partner I wrote immediately an e-mail to understand if she has some special requirements.
My partner is Elisa from Italy. She has a blog  Dilanaedilino.
Looking at the tings she had create I have chosen the fabrics for the mug rugs.
I like the idea of Russian Doll - Matryoshka very much.
I know Russian very well  and Rushian culture is close to me. I have many vintage fabrics from Russia, too.
That's why I began with this mug rug.
Russian national costumes has a plenty of embroidered bands, so I embellished the mug rug with a woven band instead of second line of squares.


Do you see what is the hair of the Matryoshka?
This is my another tribute to the mug rug pattern.

When I was a little child my father went to Rushia for one month to work.
I want to have a big doll that could cry, saying "Mum" when someone pushes her stomach and has a long blond hair that could be combed.

So here are some little tricks how I have made the hair.
All you need is about 6 inches yellow DMC threads, some light brown and ochre threads and colorless nail polish.
Cut  all threads with length of about 1.5 inches.


After you have finished with applique of the doll place the thread on the front head and stitch 3-4 stitches forward and backstitch.


Pull out the threads from the back side and tie for secure.


 At the end - Very IMPORTANT!
"Paint" the seam with the nail polish brush to fix all the threads firmly. Some of them are so tiny and could be torn when wash the mug rug.
Cut the longest threads and make a hairstyle you desire.


Was it funny?
Oh, forget to share the label on the back.


Although I have designed and made many mug rugs for my SHOP I tried a new way for binding, described by Amanda on her site. Thanks!

Tomorrow I will show the next mug rug.

Saturday, January 25, 2014

Art wall hanging - The signs

If you are wandering where I have disappeared or visit here to read some news and had seen nothing it is time to see the truth.
I was not ill although flu and viruses around me.
I was busy. I had some urgent tasks.
I have to finish a wall hanging for a new modern  interior in a flat.
I was a special offer - it has to hang in front of dark red wall in a modern designed hall.


Here it is on the floor  ready for departure.


For the quilting I have used silk ombre grey white thread.
I want to add effect as it is sprayed. I used my walking foot for quilting.
Here are details.


In progress when I noticed the left down corner is too bold and added a black line.


The big challenge is to stretch on a frame.
The size is 36 x 40 inches. The side width of the frame is 1.2 inches.

I have written how to do easier.

Lay the finished quilt on the floor right side down.
Place the frame on it as shown at the diagram.
Cut squares at all corners as you make the bottom of a pouch. I left half inch seam allowances.
The bigger seam allowances lays better on the frame.


Pinch the corner right side inside and stitch. Repeat with all four corners.


"Dress" the frame with so prepared quilt.
Fold the upper side and tackthe quilt to the back side of the frame.

Slightly stretch the quilt and repeat with opposite side.
Then tack the next two opposite sides.
 Fold the corners as you wrap a parcel with paper.
Cut the exceed fabrics aligning the frame. I have stick with glue to prevent fraying.


Special thanks to my friend Mina from liza-myhobbies  who helped me with the idea for assembling.


Looking at it after finish it reminded me too much for signs left from vehicles.
So I named it THE SIGNS.

Saturday, December 28, 2013

The New York Cat pillow

My best friend is allergic to cats.
She has problem even staying in a room where were cats before.
I made  this pillow for her.
No problems anymore.


I have seen a combination between NYB quilt block and a cat somewhere at the web.
Like wonky shapes much more than perfect ones, so the idea was turned into pattern - New York Cat.

I designed it and test the pattern sew this cushion cover.
You can get the pattern from CRAFTSY or ETSY.

Here are some hints during the sewing.

In fact the most sections are paper pieced.
When stitch together two curved sections keep in mind my advise:
Do not add seam allowances to the paper, only for the fabric.
It is much easier to stitch together sections.


 The same in front.
Pin two sections and stitch carefully.


Iron well. Don't worry if they are a little bit uneven. You will trim exceed down later.


Repeat the same with the next two sections.


Add the body and head.
Embroider the eyes and mouth.

Use the block for cushions, quilts, placemats and what you decide.

Wednesday, December 25, 2013

Merry Christmas!

Merry Christmas and a Happy New Year!
 
Let always 
your Christmas stockings 
are full of things
you had wished!