A possibility to say what you think, an opportunity to travel where you want, a desire to make what you like.
As a citizen of former East European country I know the situation very well.
When I have seen the Liberty Pillow case challenge on SewMamaSew I thought - this would be great for me to participate.
I have written to Kristin and crossed my fingers. I needed to be chosen.
She answered me and I was so HAPPY.
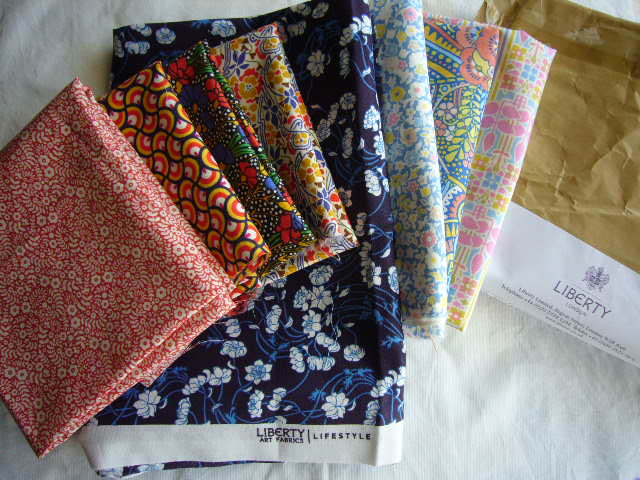
I have visited the site with Liberty Art Fabrics to get some inspiration and to be ready with idea when the fabrics come.
First my idea is to make a chain as an antipode of Freedom. So was born a new pattern. You can download it for FREE. If you are a CRAFTSY member get from HERE.
But when I got the fabrics I realized it won't works for me.
I have to design something different.
For me the Liberty is having various ways and possibility.
And the cushion says - Go which way you want.


Finished pillow size: 16 inches square
You will need:
four fat eights prints (three for the top and one for the binding)
some strips from three solids
6 inches white square
a fat quarter for the back
additional materials:
17 inches square for the background of the pillow front
17 inches square batting
16 inches square pillow form
threads
A. Making the front panel.
1. Cut 4,5 inches square and an 1 inch strip 5-6 inch long.


3. Stitch right sides together one of the pieces and the strip.
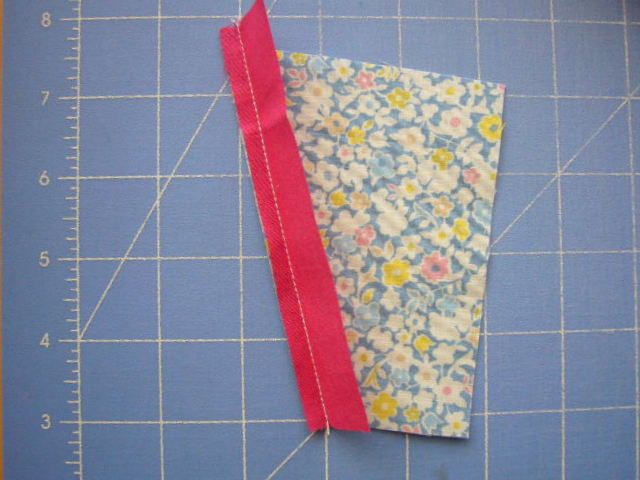
4. Iron well towards the piece and trim aligning to one side.

5. Stitch the second piece beginning from the trimmed side, iron towards the piece and trim.

6. Make 15 squares this way - 5 from each print fabric.
Tip - Make the cuts different directions.
7. Cut 6 inches square from white fabric and three 1 inch strips 7-8 inch long from the three different solids.

8. Make a cut the way you want and insert first strip.

9. Make another cut and insert second strip.

10. Keep in mind that the cut is not perpendicular. Use a pin to fit perfect and check before sew them together.


11. Make another cut and insert third strip.


12. Trim to 4,5 inches square.


14. Add batting and background and stitch in a ditch using coordinating thread
B. Making the envelope closure.
1. Cut two rechtangles 16,5 x 11 inches and stitch a 0.25" double folded hem on one long edge of each of them.

2. Overlap them and stitch for secure.
Tip - measure before sew them .You will have 16,5 inches square.

C. Finish the pillow case.
1. Place the finished front pannel and finished back WRONG sides together and stitch round perimeter a quarter inch.

2. Cut 1 3/4 inchces strips for binding and stitch together.
Stitch the binding to the front of the cushion. Fold over, turn under and hand stitch to the cushion back.
Put a 16 Inches insert and you are finished.
Enjoy the freedom!
I'm new to your blog, but will be coming back again. I love your interpretation of the Liberty challenge, and the special meaning that liberty has for you. I'm American-born, and I try to appreciate the liberty that I've known all my life. I hope it will be preserved forever, because there is nothing more important. Your pillow is a celebration of that joy. Nicely done!
ReplyDeleteThank you, Amy. I like the result, too.
DeleteThis is my first time here... I really, really LOVE your pillow! Thank you so much for sharing how you made the different lines.
ReplyDeleteThank you, Lainie. You are welcome any time you come here in the future. This month I was too busy to write posts. Hope it will change.
Delete