Thursday, December 25, 2014

Christmas stockings everywhere

Well finally I have enough time to tell you about how I have made Christmas stockings this year.
I had to make 4 of them by order (the lady from last year wanted to have some).


I have many ideas for the front side, but the back should be made faster.
So I cut 4 different fabrics bigger than pattern  (around 1 inch seam allowances) and lay them right side up.


Then made 3 cuts.

And jumble the pieces .

If the fabrics are printed you will have stockings "one direction" only.
I have used woven fabric so could turn one of the stocking.
Stitch the pieces together.


Add batting and quilted. Trim to the pattern size.

For the fronts I have made the lights

and used even small bells.

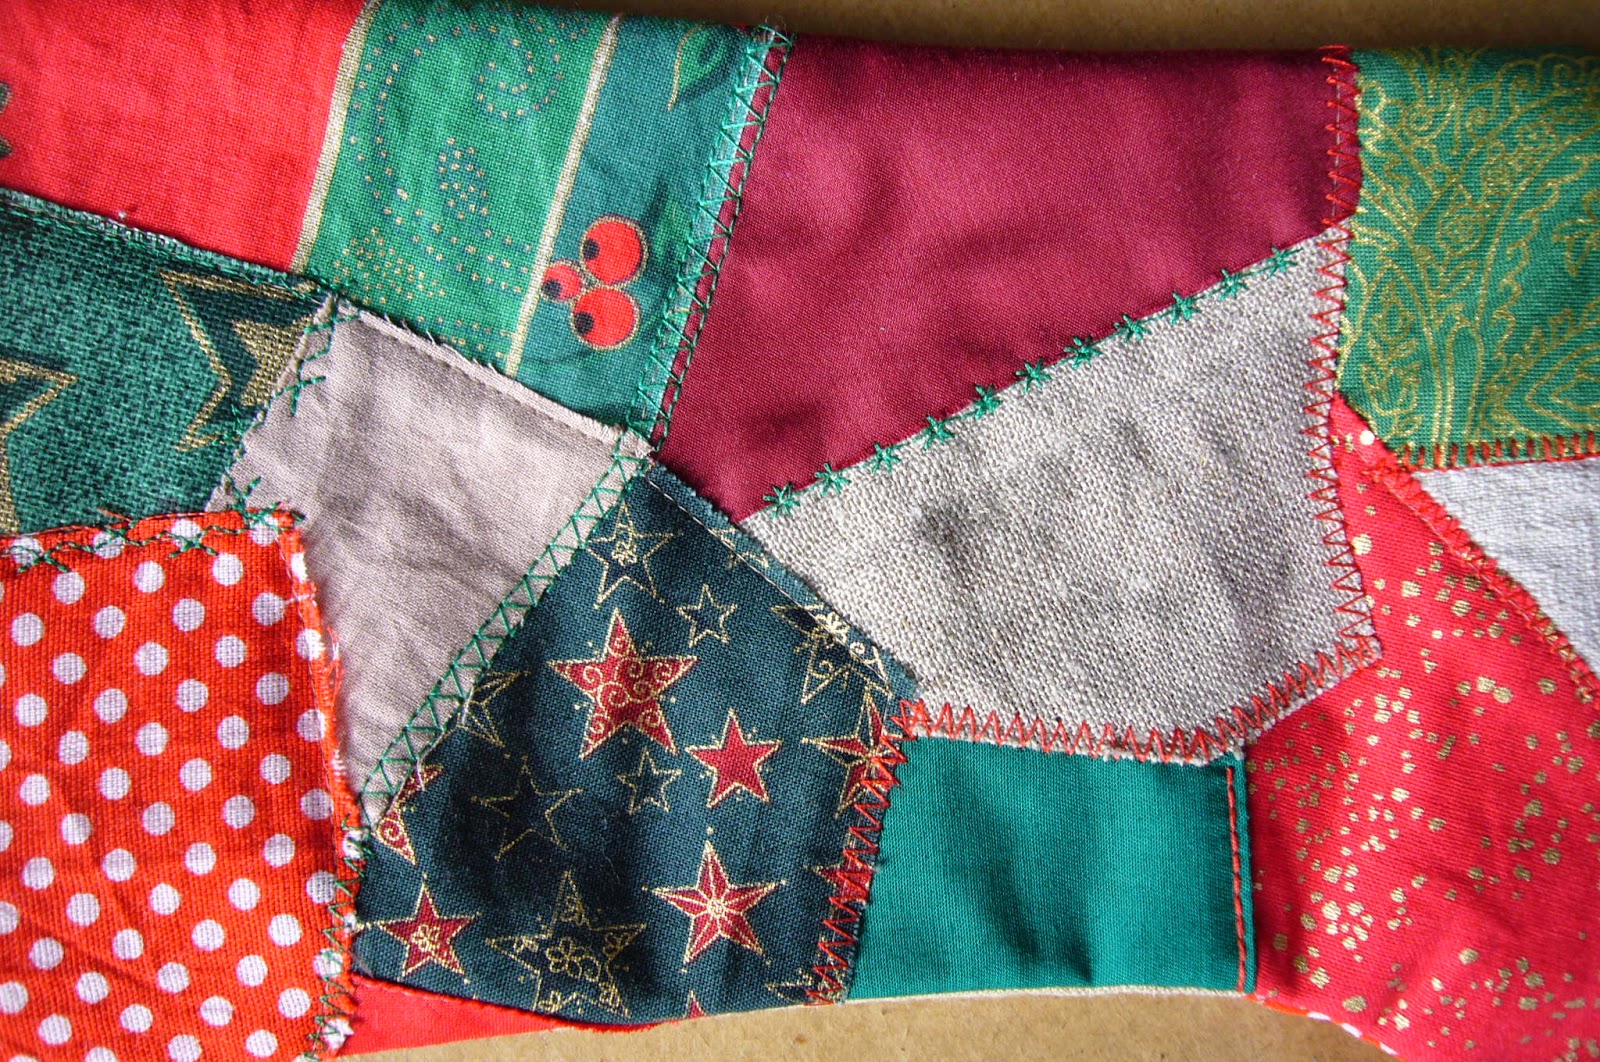
 I like too much this one with crazy patchwork so made some more stockings.


This one with back made from Christmas table topper.


The most beautiful by my opinion is this one


with back for which I used many machine stitches and a golden thread.


I had to made a stitch bible :)

Merry Christmas to all of you!

Wednesday, December 17, 2014

A Christmas swap

It is always amazing to receive  gifts.
And taking part in a swap is much more funny.
It was a challenge to be a part of Christmas swap .
I am well known with my love for making small things - mini wall hangings, mini art quilt, etc.
Now I wanted to make something more casual and I decided to sew a needlecase.
Everyday usage is a good way to remember the person who made it.


P.S. Some tips for my followers.

As you have seen the lining is made from two different colored fabrics.
If you use one fabric, get two pieces sewn together in the middle.
Note that you must have an opening in the center for turning over. (see last picture for details)


Place the prepared top right side up.
 

Place the lining right side down and stitch together round WHOLE perimeter.
This trick will guarantee you a perfect look.


Clip the edges to reduce bulk, turn right side out and iron well.
Close the opening using blind stitch.
Stitching felt in the middle will cover your possible mistakes.


Saturday, December 13, 2014

More Christmas trees

Do you remember my post from two days before? It was about a Christmas tree ornament.
Why not sewing more of them and give friends for decoration?
I decided to use small scraps from sewing stockings to make some more.
Collect different red, green, golden, printed fabrics and felt strips and cut them to triangles.
Thinking of how make my work easy I cut a rectangle of bating and placed them on.


Pin and stitch round perimeter.
Then trim leaving bating a quarter inch bigger.


Fast and easy!
Now turn back and stitch the rear triangle.
Clever, right?
Add string hangings and  count them. They were 14.
Good number for passing away 2014.


Thursday, December 11, 2014

Oh, Cristmas tree

My dear neighbours were on the way to their home in South Africa.
I wanted to make a small, but special gifts for Christmas.
They had packed their luggage so it had to be small and remarkable. From all my heart.
Paper stars for the boys and a fabric tree for the girl. All they could be hang on the Christmas tree.


Making a tree is very easy and fun.
You will need:
      some fabric scraps
      white batting
      wooden clip
      string


Cut triangles from fabrics - The outer ones have to be smallest, next ones bigger and the white one - biggest.
The size depends on the wooden clip.


Lay three of them as shown - white batting, green (right side up). red dotted (right side up).
Stitch them together round perimeter of the red one.


Then turn back and place another couple - green red triangles and stitch the same way.
Add about 10" piece of string folded in half. I have used zig-zag stitch.


Add embellishment as beads, golden thread, embroidery if like.
And clip the wooden clip!


Monday, December 1, 2014

Give a towel charm look

It was plain white kitchen towel. Organic cotton waffle wave towel.
A little bit boring with its simplicity.
I needed to put a small accent with thread or piece of fabric.


It was a fast and funny project so I want to share some details.

You will need two strips 2 inch width different printed fabrics and two suitable colors pearl cotton.

Sew the strips right sides together and press seam allowances open.
Then rotary cut at every 1 1/2 inch beginning from one end. See the picture.


Stitch together every two pieces until having a long strip consisting of alternate pieces.

I have cut strips 2 inch width, but you could use other width.
If you want that finished pieces are squares shape keep in mind to rotary cut half inch shorter than the width of the strip (for the two seam allowances  each measuring a quarter inch).

Stitch on the towel row edges applique.
Add running stitch along the strips.